6.5.10 MySQL Replication Setup
MySQL replication is a mechanism that automatically synchronizes data between servers in real time. It solves three tasks at once: if the primary server goes down, the data will not be lost; the read load can be distributed across multiple servers; finally, backups can be taken without stopping the primary database. This guide covers two approaches to replication. The first is the classic source-replica model (also known as master-slave): one primary server accepts all changes, and the others copy them. The second is bidirectional master-master replication, where each server can both read and write at the same time. All examples and commands are relevant for MySQL 8.0.23+, where Oracle renamed outdated terms — where relevant, the old syntax is noted separately.
What you need to prepare before starting
Before touching the MySQL configuration, make sure your infrastructure is ready. All the following steps assume that you have two separate servers (physical, virtual, or containers) with the same version of MySQL 8.0+.
Requirements
- Two separate servers — physical, virtual, or containers
- MySQL 8.0+ of the same version on both servers
- Port 3306 open between the servers (check with:
telnet <ip_of_the_second_server> 3306)
Which replication type is better to choose
Source-Replica (master-slave) is the best choice for beginners and for most production scenarios. It is suitable for read scaling (read replicas), creating backups without load on the production server, running analytical queries on a separate server, and simple failover (manual promotion of a replica to source). The setup complexity is low, and the risk of data loss is minimal with sync_binlog=1.
Master-Master (bidirectional) is suitable only when you need writes on two nodes in different locations or instant failover without promoting a replica. In practice, most teams use master-master in an active-passive mode: they write only to one node and keep the second as a hot standby. The complexity is high, and the risk of conflicts is real with simultaneous writes.
Group Replication / InnoDB Cluster is Oracle’s recommended option for true multi-master. It has a built-in conflict resolution mechanism (certification-based), automatic failover, and quorum. It requires at least 3 nodes. If you need reliable multi-master, this is the right choice instead of manual master-master.
Please note! In this article, we will use the following IP addresses as an example.
- source - 192.168.1.10
- slave - 192.168.1.20
You will need to specify your own IP addresses instead.
Source-Replica (master-slave) replication
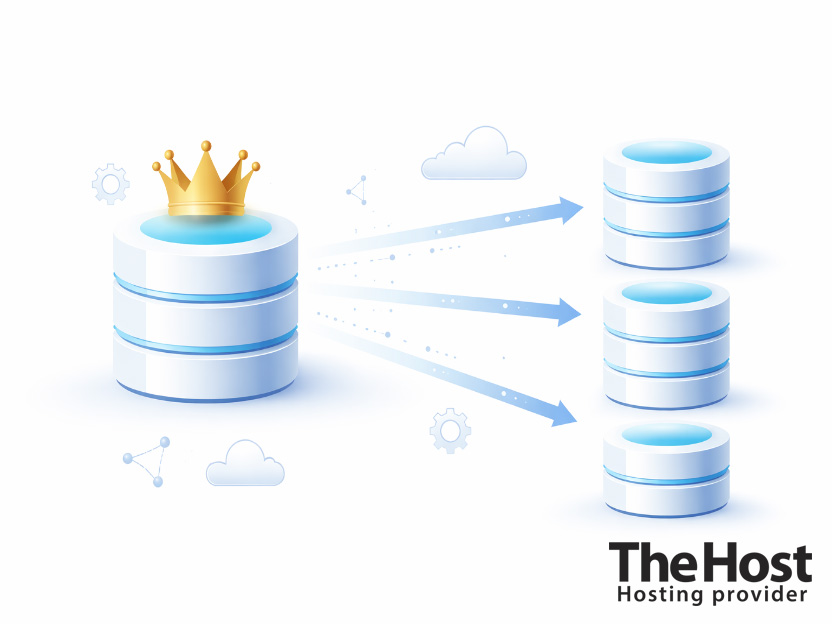
This is the simplest and most common type of MySQL replication. One server (source) accepts all write operations, while the second (replica) automatically receives and applies the changes. The replica usually operates as a read-only node and is used for read offloading, redundancy, and improved fault tolerance.
If you are just starting to work with replication, it is better to use the source-replica scheme together with GTID (Global Transaction Identifier) right away.
GTID is a unique identifier for each transaction in MySQL. It allows the replica to track not the position in the binary log, but the specific transactions that have already been applied.
It looks roughly like this:
3E11FA47-71CA-11E1-9E33-C80AA9429562:23
Where:
3E11FA47-71CA-11E1-9E33-C80AA9429562is the UUID of the server where the transaction was created;23is the transaction sequence number.
Why it is better to use GTID
The traditional way to configure replication uses binary log coordinates:
SOURCE_LOG_FILESOURCE_LOG_POS
This is a working option, but it is less convenient:
- you need to record the file and position manually;
- there is a higher risk of error during the initial setup;
- it is harder to restore replication after a failure;
- it is less convenient to switch to another source.
With GTID, replication becomes simpler and more reliable:
- the replica determines on its own which transactions have already been applied;
- there is no need to specify
SOURCE_LOG_FILEandSOURCE_LOG_POSmanually; - recovery and role switching are easier;
- this approach is better suited for automation and scaling.
my.cnf configuration on the source server
File: /etc/mysql/mysql.conf.d/mysqld.cnf (Ubuntu/Debian) or /etc/my.cnf (RHEL/CentOS).
[mysqld]
# Unique server identifier
server-id                       = 1

# Enable binary logging
log_bin                         = /var/log/mysql/mysql-bin.log

# Recommended binary log format
binlog_format                   = ROW

# Enable GTID
gtid_mode                       = ON
enforce_gtid_consistency        = ON

# Allow external connections
bind-address                    = 0.0.0.0

# Safely flush the binary log to disk
sync_binlog                     = 1

# Binary log retention period
binlog_expire_logs_seconds      = 604800

# Maximum size of a binary log file
max_binlog_size                 = 100M

# (Optional) Replicate only specific databases:
# binlog_do_db                  = mydb
# binlog_do_db                  = another_db
my.cnf configuration on the replica server
[mysqld]
# Unique server identifier, different from the source
server-id                       = 2

# Relay log for storing events from the source
relay-log                       = /var/log/mysql/mysql-relay-bin.log

# Protection against accidental writes on the replica
read_only                       = ON
super_read_only                 = ON

# Binary log on the replica
log_bin                         = /var/log/mysql/mysql-bin.log

# Write replicated events to the replica's binary log
log_replica_updates             = ON

# Enable GTID
gtid_mode                       = ON
enforce_gtid_consistency        = ON
After editing the configuration on both servers, restart MySQL:
sudo systemctl restart mysql
Setting up replication with GTID
Step 1 — Create a replication user on the source
On the source server, you need to create a separate user through which the replica will connect and read changes from the binary log. This user must be granted replication privileges. It is recommended to restrict access by the replica server’s IP address instead of allowing connections from any host.
-- Option A: caching_sha2_password (recommended for MySQL 8.0)
CREATE USER 'repl_user'@'192.168.1.20' IDENTIFIED BY 'StrongP@ss123!';
GRANT REPLICATION SLAVE ON *.* TO 'repl_user'@'192.168.0.20';
FLUSH PRIVILEGES;
Alternatively, if compatibility with an older configuration is required:
-- Option B: mysql_native_password
CREATE USER 'repl_user'@'192.168.1.20'
IDENTIFIED WITH mysql_native_password BY 'StrongP@ss123!';
GRANT REPLICATION SLAVE ON *.* TO 'repl_user'@'192.168.1.20';
FLUSH PRIVILEGES;
If caching_sha2_password is used without SSL, you will need to specify GET_SOURCE_PUBLIC_KEY=1 on the replica in the CHANGE REPLICATION SOURCE TO command.
Step 2 — Prepare a consistent database snapshot on the source
Before creating the dump, you need to lock the data state so that the snapshot is consistent. This is especially important if changes are still being made on the source at that moment. The lock helps avoid a situation where part of the data gets into the dump before a change and another part after it.
To obtain a correct dump, run:
FLUSH TABLES WITH READ LOCK;
Attention! Do not close this session until the dump creation is complete. If the connection is interrupted, the lock will be released.
Step 3 — Create a database dump
At this stage, an initial copy of the data is created, from which the replica will get the current state of the database. After importing this dump, the replica will be able to catch up with the source through binary log replication. For initial setup, this is the basic and most straightforward method.
In a separate terminal, run:
mysqldump -u root -p \
  --databases mydb \
  --single-transaction \
  --routines \
  --triggers \
  --events \
  > /tmp/source_dump.sql
Notes:
--single-transactioncreates a consistent snapshot for InnoDB tables;--routines,--triggers, and--eventsinclude related objects;- when using GTID, there is no need to rely on
SOURCE_LOG_FILEandSOURCE_LOG_POSas the main configuration mechanism.
After the dump is complete, release the lock:
UNLOCK TABLES;
Transfer the dump to the replica:
scp /tmp/source_dump.sql user@192.168.0.20:/tmp/
Step 4 — Import the dump on the replica
Now you need to load the received dump onto the replica so that it starts not from an empty database, but from an up-to-date copy of the source data. After that, the replica server will be ready to receive only the missing transactions through GTID-based replication.
mysql -u root -p < /tmp/source_dump.sql
Then connect to MySQL on the replica:
mysql -u root -p
Step 5 — Configure replication via GTID on the replica
At this step, the replica receives the connection parameters for the source and is switched to automatic positioning mode through GTID. Unlike the old scheme, here you do not need to specify the binary log file and position manually — MySQL will determine on its own which transactions are already on the replica and which ones still need to be received.
Run:
CHANGE REPLICATION SOURCE TO
    SOURCE_HOST='192.168.1.10',
    SOURCE_PORT=3306,
    SOURCE_USER='repl_user',
    SOURCE_PASSWORD='StrongP@ss123!',
    SOURCE_AUTO_POSITION=1,
    GET_SOURCE_PUBLIC_KEY=1;
Notes:
SOURCE_AUTO_POSITION=1enables GTID-based replication;- in this mode, MySQL automatically determines which transactions have already been applied on the replica;
GET_SOURCE_PUBLIC_KEY=1is required when usingcaching_sha2_passwordwithout SSL.
Step 6 — Start and verify replication
After configuring the connection, you need to start replication and immediately verify its status. At this stage, it is important to make sure that the replica has successfully connected to the source, is reading the binary log, and is applying changes without errors. This check is what shows that the setup is actually working, not just formally configured.
START REPLICA;
SHOW REPLICA STATUS\G
Key fields to check:
Replica_IO_Running:  Yes
Replica_SQL_Running: Yes
Seconds_Behind_Source: 0
Last_IO_Error:
Last_SQL_Error:
What this means:
Replica_IO_Running: Yesmeans the replica has connected to the source and is reading the binary log;Replica_SQL_Running: Yesmeans the replica is applying the received changes;Seconds_Behind_Source: 0means there is no lag;Last_IO_ErrorandLast_SQL_Errorshould be empty.
If both threads are running and there are no errors, replication is configured correctly.
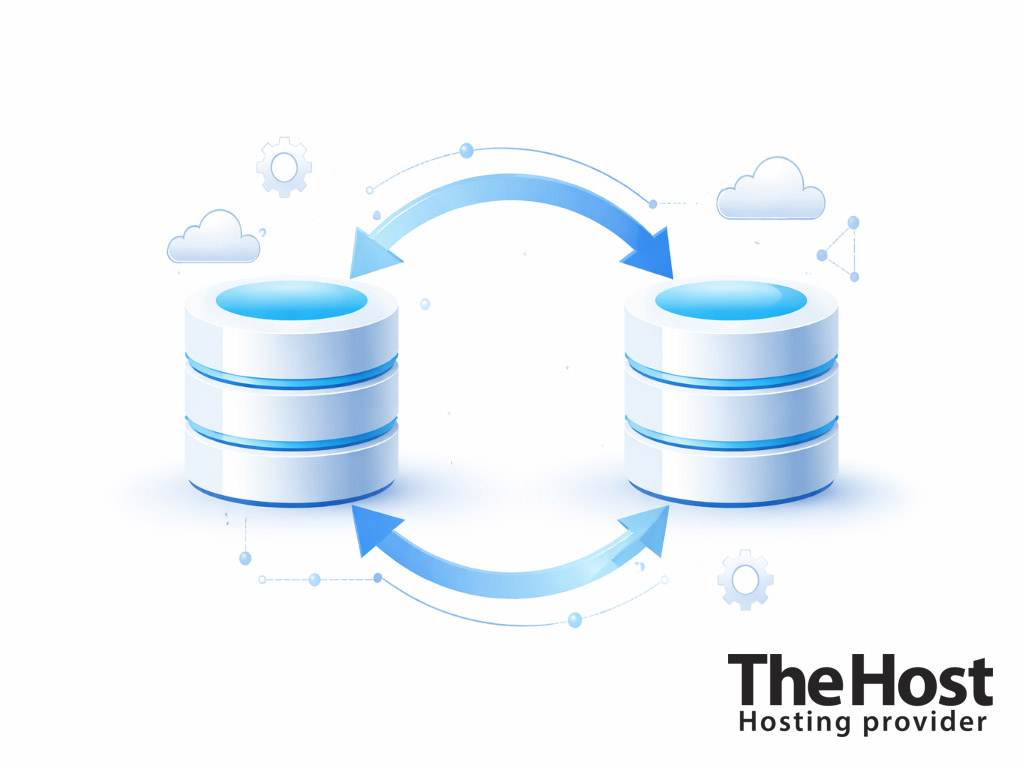
Bidirectional (master-master) replication
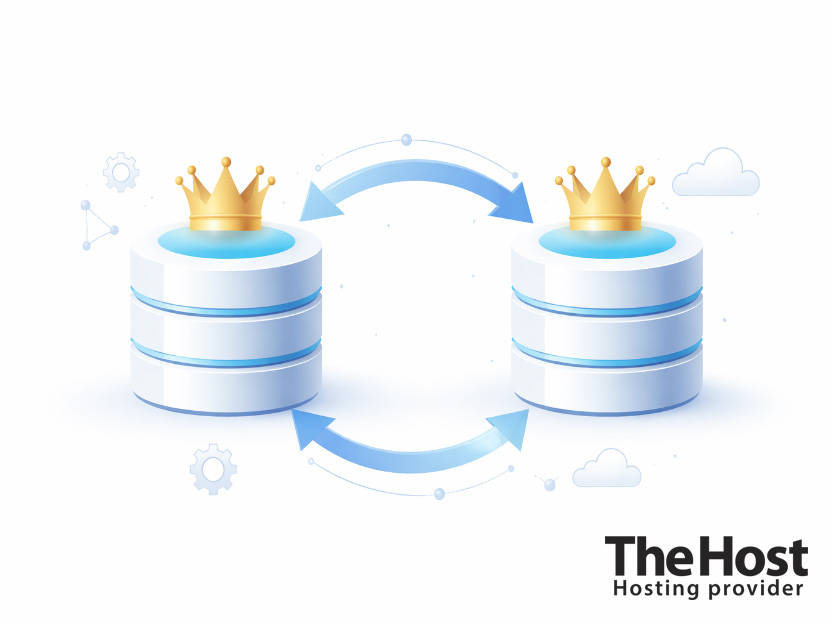
Bidirectional replication means two servers, each of which is both a source and a replica for the other. Changes on Node1 are replicated to Node2, and vice versa. This is significantly more complex than a regular source-replica setup, and the main reason is the risk of conflicts when writing to both nodes simultaneously. MySQL does not have a built-in conflict resolution mechanism for standard InnoDB replication.
What changes compared to master-slave
There are five main differences. First, both nodes require log_bin to be enabled, because each one acts as a source. Second, log_replica_updates must be ON on both nodes — without this, replicated events are not written to the local binary log, and circular replication does not work. Third, auto_increment_increment and auto_increment_offset are required to avoid primary key collisions. Fourth, both nodes require a replication user. Fifth, both nodes are writable (not read-only).
my.cnf configuration for two nodes
Node 1 (IP: 192.168.1.10):
[mysqld]
server-id                = 1
log_bin                  = /var/log/mysql/mysql-bin.log
binlog_format            = ROW
relay_log                = /var/log/mysql/mysql-relay-bin
log_replica_updates      = ON
bind-address             = 0.0.0.0

# Critical: split AUTO_INCREMENT between nodes
auto_increment_increment = 2
auto_increment_offset    = 1
# Node 1 generates IDs: 1, 3, 5, 7, 9...

binlog_expire_logs_seconds = 604800
max_binlog_size          = 100M
Node 2 (IP: 192.168.1.20):
[mysqld]
server-id                = 2
log_bin                  = /var/log/mysql/mysql-bin.log
binlog_format            = ROW
relay_log                = /var/log/mysql/mysql-relay-bin
log_replica_updates      = ON
bind-address             = 0.0.0.0

# Node 2 generates IDs: 2, 4, 6, 8, 10...
auto_increment_increment = 2
auto_increment_offset    = 2

binlog_expire_logs_seconds = 604800
max_binlog_size          = 100M
The key variable is auto_increment_increment=2 with a different auto_increment_offset on each node. This guarantees that Node 1 generates odd AUTO_INCREMENT values (1, 3, 5…), while Node 2 generates even ones (2, 4, 6…), completely avoiding primary key conflicts. For N nodes, use auto_increment_increment=N with an offset from 1 to N.
The log_replica_updates variable (or log_slave_updates before MySQL 8.0.26) ensures that events received from the partner are written to its own binary log. Without it, circular replication is impossible — Node1 will send a change to Node2, Node2 will apply it but will not write it to its binary log, so Node1 will never “see” the reverse replication. MySQL prevents infinite loops thanks to server-id: each node automatically ignores events with its own server-id.
Step-by-step circular replication setup
After changing the configuration, restart MySQL on both nodes: sudo systemctl restart mysql.
Step 1 — Create replication users on both nodes:
On Node 1:
CREATE USER 'repl_user'@'192.168.1.20' IDENTIFIED BY 'StrongP@ss123!';
GRANT REPLICATION SLAVE ON *.* TO 'repl_user'@'192.168.1.20';
FLUSH PRIVILEGES;
On Node 2:
CREATE USER 'repl_user'@'192.168.1.10' IDENTIFIED BY 'StrongP@ss123!';
GRANT REPLICATION SLAVE ON *.* TO 'repl_user'@'192.168.1.10';
FLUSH PRIVILEGES;
Step 2 — Configure Node2 as a replica of Node1:
On Node 1, run SHOW MASTER STATUS; and note the File/Position values.
On Node 2:
CHANGE REPLICATION SOURCE TO
    SOURCE_HOST='192.168.1.10',
    SOURCE_PORT=3306,
    SOURCE_USER='repl_user',
    SOURCE_PASSWORD='StrongP@ss123!',
    SOURCE_LOG_FILE='mysql-bin.000001',
    SOURCE_LOG_POS=<position_from_node1>,
    GET_SOURCE_PUBLIC_KEY=1;

START REPLICA;
Step 3 — Configure Node1 as a replica of Node2:
On Node 2, run SHOW MASTER STATUS; and note the File/Position values.
On Node 1:
CHANGE REPLICATION SOURCE TO
    SOURCE_HOST='192.168.1.20',
    SOURCE_PORT=3306,
    SOURCE_USER='repl_user',
    SOURCE_PASSWORD='StrongP@ss123!',
    SOURCE_LOG_FILE='mysql-bin.000001',
    SOURCE_LOG_POS=<position_from_node2>,
    GET_SOURCE_PUBLIC_KEY=1;

START REPLICA;
Step 4 — Verify replication on BOTH nodes:
SHOW REPLICA STATUS\G
On each node, Replica_IO_Running and Replica_SQL_Running must show Yes. Test it: insert a row on Node1 (it will get an odd ID), then on Node2 (it will get an even ID), and make sure that both rows are visible on both nodes.
Conflicts and how to avoid them
MySQL does not have built-in conflict resolution for standard InnoDB master-master replication. If both nodes modify the same row at the same time, replication will break with error 1062 (duplicate key) or 1032 (record not found). The safest strategies to avoid conflicts are: direct all writes to only one node (keep the second as a hot standby), split writes at the application level (different tables or data ranges on different nodes), or use UUID instead of AUTO_INCREMENT for primary keys.
For full multi-master with automatic conflict resolution, Oracle recommends MySQL Group Replication (available since MySQL 5.7.17 and significantly improved in 8.0) or InnoDB Cluster, which combines Group Replication with MySQL Router and MySQL Shell for easier management.
Common errors
| Error | Cause | Solution |
|---|---|---|
Replica_IO_Running: No |
Invalid credentials, firewall, or incorrect bind-address |
Check the user: SELECT user, host FROM mysql.user WHERE user='repl_user';. Make sure bind-address in my.cnf on the source is 0.0.0.0, not 127.0.0.1. Check connectivity: telnet <source_ip> 3306 |
Authentication plugin 'caching_sha2_password' reported error |
The replica cannot get the authentication key without SSL | Add GET_SOURCE_PUBLIC_KEY=1 to CHANGE REPLICATION SOURCE TO or switch the user: ALTER USER 'repl_user'@'<replica_ip>' IDENTIFIED WITH mysql_native_password BY 'password'; |
Replica_SQL_Running: No — Error 1062 (Duplicate entry) |
A row with the same key already exists on the replica — someone wrote manually to the replica | Delete the conflicting row on the replica or skip the error with SET GLOBAL sql_slave_skip_counter = 1 |
Replica_SQL_Running: No — Error 1032 (Can’t find record) |
The event is trying to update or delete a row that does not exist on the replica | Insert the missing row manually or skip the error |
| Error 1236 (Binary log error) | Binary logs on the source were deleted before the replica managed to read them | Only a full resynchronization will help: create a new dump from the source and reconfigure replication from scratch |
The same server_uuid on both nodes |
The VM or Docker container was cloned together with auto.cnf |
Stop MySQL, delete /var/lib/mysql/auto.cnf, start MySQL — a new UUID will be generated automatically |
Seconds_Behind_Source keeps increasing |
The replica cannot keep up with applying changes | Check the load on the source, the replica’s hardware, and the presence of large transactions; implement a heartbeat table for accurate lag monitoring |
Conclusion
MySQL 8.0 replication has become much more convenient thanks to updated terminology, GTID by default, and binary logging enabled out of the box. The main rule for beginners is start with a simple GTID-based source-replica setup, always set read_only=ON on the replica, use GET_SOURCE_PUBLIC_KEY=1 for caching_sha2_password, and keep binlog_expire_logs_seconds high enough so the replica has time to read all logs. Master-master should be considered only as active-passive failover, and for true multi-master you should move to Group Replication. And most importantly: if you cloned a VM, always delete /var/lib/mysql/auto.cnf before starting replication.

