8.2.16 Trilium Notes installation

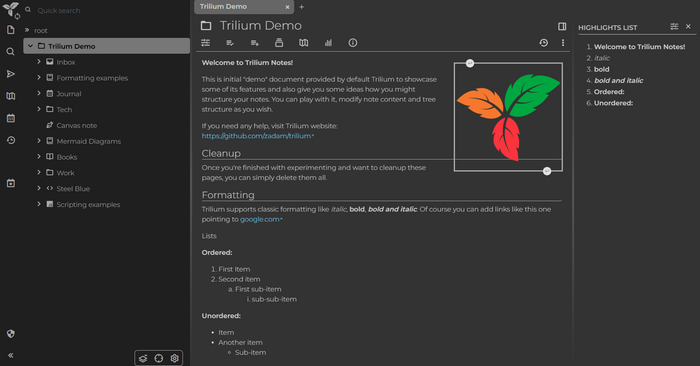
Trilium Notes is a powerful and flexible open-source application for hierarchical note-taking that combines the features of a full-text editor, knowledge base, and personal information manager. The platform supports both WYSIWYG and Markdown editing, file attachments of any type, tagging, lightning-fast search, and versioning of every note. Built-in encryption keeps your data secure, while the sync engine lets you work seamlessly with the same note database on the desktop client, a mobile device, and the web interface simultaneously. Thanks to its API, WebDAV access, and extensive customization options, Trilium integrates easily into existing workflows and is suitable for both personal notes and team projects.
Server preparation
Requirements
- A VPS or Dedicated server
- Ubuntu 24.04 with root or sudo access
- Docker and Docker Compose pre-installed
Variables to replace
TRILIUM_VERSION— Trilium image tag indocker-compose.yml(e.g.latest,0.63.4).YOUR_USER— system username in the pathWorkingDirectory=/home/<YOUR_USER>/trilium.SERVER_IP— public IP of the server used inhttp://<SERVER_IP>:8080.YOUR_DOMAIN— your domain name.
Installing Trilium
Create a directory for the app and enter it:
mkdir ~/trilium && cd ~/trilium
Create docker-compose.yml, specifying the desired Trilium version (here we use latest; you can pick any available tag):
version: '3.8'
services:
  trilium:
    image: zadam/trilium:latest
    container_name: trilium
    restart: unless-stopped
    ports:
      - "8080:8080"
    volumes:
      - ./data:/home/node/trilium-data
Note: the ./data folder will hold all notes and settings and is mounted inside the container.
Start the container in the background:
docker compose up -d

Trilium is now reachable at http://SERVER_IP:8080.
Enabling HTTPS (recommended)
By default Trilium serves its web UI over unencrypted port 8080 (HTTP). Exchanging passwords and notes is safer over TLS. The simplest way is via a reverse proxy.
Reverse proxy (Nginx / Caddy / Traefik)
Run the proxy on 443 TCP port while Trilium keeps listening on 8080 only on localhost.
-
Create a virtual host for
YOUR_DOMAINand addproxy_pass http://127.0.0.1:8080; -
Issue a Let’s Encrypt certificate with Certbot:
sudo certbot --nginx -d YOUR_DOMAIN -
Certbot automatically writes the
ssl_certificatedirectives and sets up auto-renewal.
Tip: a step-by-step guide to issuing Let’s Encrypt certificates with Certbot is available in our article.
Autostart with systemd
To have Trilium start on boot, create a systemd service:
sudo nano /etc/systemd/system/trilium.service
Paste the following content:
[Unit]
Description=Trilium Notes (via Docker Compose)
Requires=docker.service
After=docker.service

[Service]
WorkingDirectory=/home/YOUR_USER/trilium
ExecStart=/usr/bin/docker compose up -d
ExecStop=/usr/bin/docker compose down
Restart=always
TimeoutStartSec=0
RemainAfterExit=true

[Install]
WantedBy=multi-user.target
Enable and start the service:
sudo systemctl daemon-reexec
sudo systemctl enable trilium
sudo systemctl start trilium
Verifying the deployment
-
Open
http://SERVER_IP:8080in your browser. -
In the setup window choose the option that fits your needs.

-
Confirm that the Trilium web interface loads.

-
Tail the logs:
docker compose logs -f

Common issues
| Issue | Cause | Solution |
|---|---|---|
| Port 8080 is already in use | Another service is listening | Change the port in docker-compose.yml. |
| Data is not saved | Volume not mounted | Check volumes: and file permissions. |
| Does not start after reboot | systemd service not configured | Run systemctl enable trilium. |
Official documentation


