8.2.10 Installing and Configuring WireGuard VPN

WireGuard is a modern VPN protocol known for its high speed, simplicity, and strong cryptography. It’s an ideal choice for Ubuntu-based servers when you need a secure and easy-to-configure VPN solution.
Server Requirements
- A virtual server or dedicated server
- CPU: at least 1 core, RAM: 512 MB or more
- OS: Ubuntu 24.04 LTS
- Root or sudo access
- Free UDP port (default is 51820)
Installing WireGuard
First, update your system:
sudo apt update && sudo apt upgrade -y

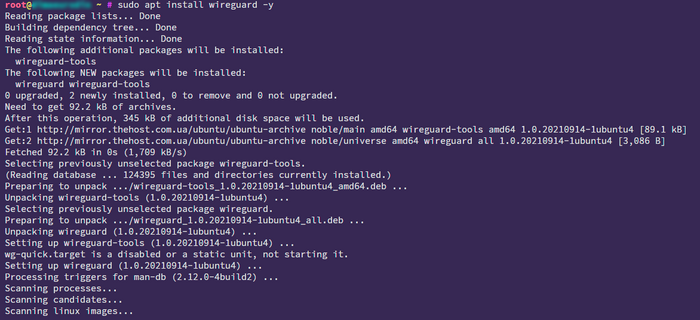
Install WireGuard:
sudo apt install wireguard -y
WireGuard is built into the Linux kernel starting from version 5.6, so you don’t need DKMS or kernel upgrades.
Generating Keys
WireGuard uses a key pair: private and public. Generate them on the server:
wg genkey | tee /etc/wireguard/server_private.key | wg pubkey > /etc/wireguard/server_public.key
Set permissions:
chmod 600 /etc/wireguard/server_private.key
The public key will be used in client configurations.
Configuring WireGuard on the Server
Identify your network interface:
ip a
Create the configuration file:
sudo nano /etc/wireguard/wg0.conf
Example contents (replace <interface> and <private server key>):
[Interface]
Address = 10.0.0.1/24
PrivateKey = <private server key>
ListenPort = 51820
SaveConfig = true

# Allow traffic through the server
PostUp = iptables -A FORWARD -i %i -j ACCEPT; iptables -t nat -A POSTROUTING -o <interface> -j MASQUERADE
PostDown = iptables -D FORWARD -i %i -j ACCEPT; iptables -t nat -D POSTROUTING -o <interface> -j MASQUERADE
Enable IP forwarding:
echo "net.ipv4.ip_forward=1" | sudo tee -a /etc/sysctl.conf
echo "net.ipv6.conf.all.forwarding=1" | sudo tee -a /etc/sysctl.conf
sudo sysctl -p

Start WireGuard:
sudo systemctl start wg-quick@wg0.service
sudo systemctl enable wg-quick@wg0.service

Configuring the Firewall
ufw
sudo ufw allow 51820/udp
sudo ufw enable
iptables
iptables -I INPUT -p udp -m udp --dport 51820 -j ACCEPT
Adding a Client
Each client needs its own keys and IP address. Run this on the client:
wg genkey | tee client1_private.key | wg pubkey > client1_public.key
Then add the client to the server using the generated client1_public.key:
sudo wg set wg0 peer <client1_public_key> allowed-ips 10.0.0.2/32
Example Client Configuration
Save this as client.conf and import it in the WireGuard app (Linux, Windows, Android, or iOS):
[Interface]
PrivateKey = <client1_private_key>
Address = 10.0.0.2/32
DNS = 1.1.1.1

[Peer]
PublicKey = <server_public_key>
Endpoint = <server_IP>:51820
AllowedIPs = 0.0.0.0/0, ::/0
PersistentKeepalive = 25
WireGuard on WSL2
WSL2 limitations:
- Avoid using
AllowedIPs = 0.0.0.0/0— it may break connectivity. - Use
AllowedIPs = 10.0.0.0/24— for VPN LAN only. - Internet traffic will still go through Windows, not the VPN.
Recommendation: For full VPN routing, use the official WireGuard for Windows.
Testing the Connection
Use these commands:
sudo wg
ping 10.0.0.1
curl ifconfig.me


Expected results:
sudo wgshows active session;pingreplies from 10.0.0.1;curlshows the server’s IP (if routed through VPN).
On this page

