6.1.2 Remote access to the server using IP-KVM

What is IP-KVM?
IP-KVM provides the ability to remotely administer a dedicated server, including:
- viewing the server’s visual output on your monitor
- fully using a mouse and keyboard (including electronic ones) to interact with the server
- rebooting the server
- configuring the BIOS
- connecting ISO or your local disk to the server
- working with the server without an active network connection
IP-KVM is commonly used for initial server setup, OS reinstallation, or diagnostics when there is no network connection to the server. The device can be connected via the most common video interfaces: VGA, HDMI, DVI-I, and DVI-A (if they support analog signal). Other video interfaces such as DVI-D, DisplayPort, Thunderbolt, USB Type-C are not supported.
Prerequisites for IP-KVM Usage
1. 32-bit Browser
Remote server access via IP-KVM is only available in 32-bit browsers that support Java. Here are some options:
- Internet Explorer x32
- Firefox ESR 32 up to version 52.0 (for instance, using this distribution – after downloading, disconnect the network on your PC, install the browser, go to browser settings, disable auto-updates, then restart the browser and reconnect the network). Ensure you properly configure or disable all antivirus software or firewalls on your PC.
- Microsoft Edge in compatibility mode with Internet Explorer. To activate it, go to the
edge://settings/defaultBrowserpage in the Edge browser and enable the Allow sites to be reloaded in Internet Explorer mode (IE Mode) option. Now, by right-clicking on any browser tab, you can reload it in compatibility mode with Internet Explorer.
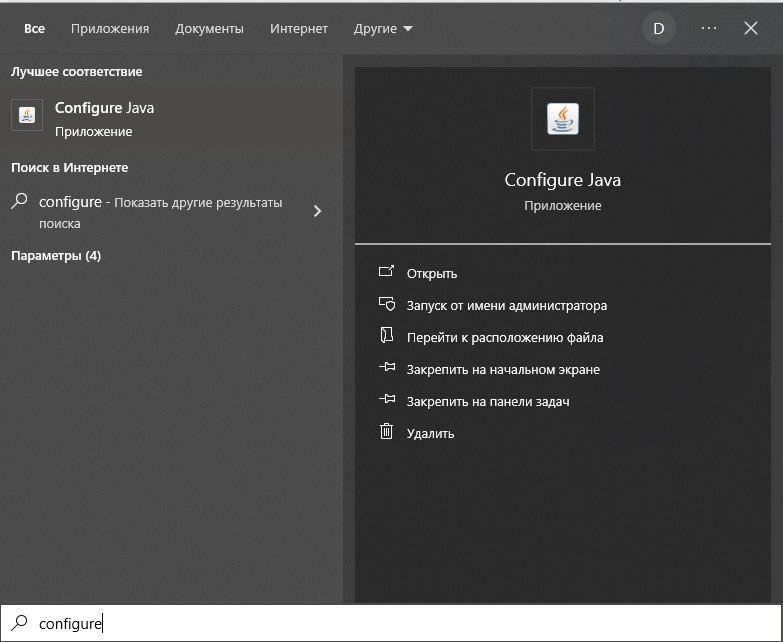
2. Configure Java
You need to install Java on your PC through the browser you plan to use for connecting to IP-KVM. After installation, open Java settings on your PC with the Configure Java application.
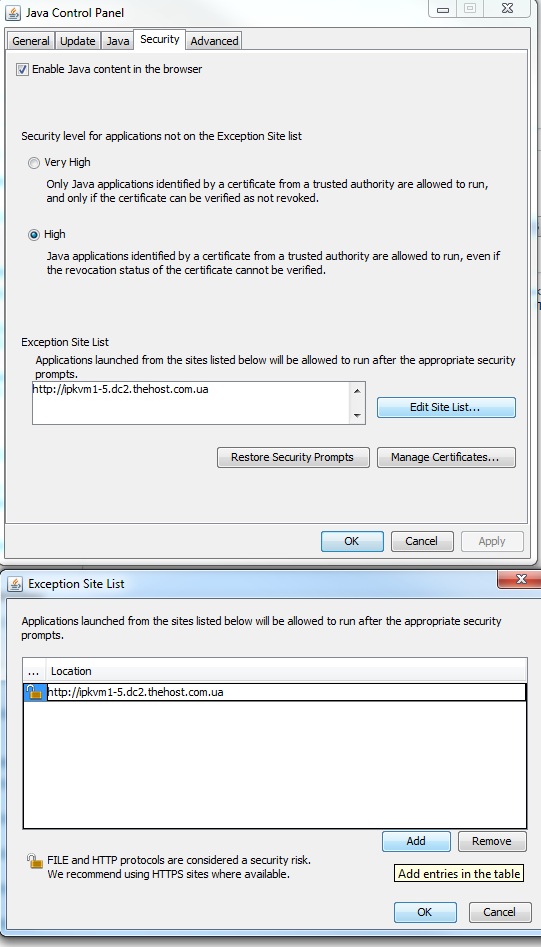
In the Security tab, enable High security level. Then click on Edit Site List… and in the opened window, click Add, and add the link provided to you earlier for remote access to IP-KVM to the list of allowed addresses:
3. Java Policies
After adding the IP-KVM address to exceptions, it’s necessary to enable the required encryption algorithms. To do this, open the JAVA\HOME\lib\security\java.security file in a text editor (usually in Windows, it’s located at C:\Program Files\Java\Installed_JAVA_version\lib\security\java.security or C:\Program Files (x86)\Java\Installed_JAVA_version\lib\security\java.security). Adjust the values of the following directives by removing all algorithms after the = sign:
jdk.certpath.disabledAlgorithms=
jdk.jar.disabledAlgorithms=
jdk.tls.disabledAlgorithms=
Save the changes in the java.security. Next, Java access policies need to be configured. To accomplish this task, open the JAVA\HOME\lib\security\java.policy file in a text editor (usually in Windows, it’s located at C:\Program Files\Java\Installed_JAVA_version\lib\security\java.policy or C:\Program Files (x86)\Java\Installed_JAVA_version\lib\security\java.policy). Add the following lines before the last line containing }:
permission java.util.PropertyPermission "user.home", "read";
permission java.security.AllPermission;
permission java.net.SocketPermission "*", "connect, accept, resolve";
Then save the java.policy file and open Mozilla Firefox in your browser, using the previously provided address, login, and password.
The IP-KVM management window will open. When using Internet Explorer, if you have a 64-bit OS installed, you need to run it from the folder C:\Program Files (x86)\Internet Explorer\iexplore.exe because the shortcut on the desktop will launch the 64-bit version of the browser, where Java will not work.
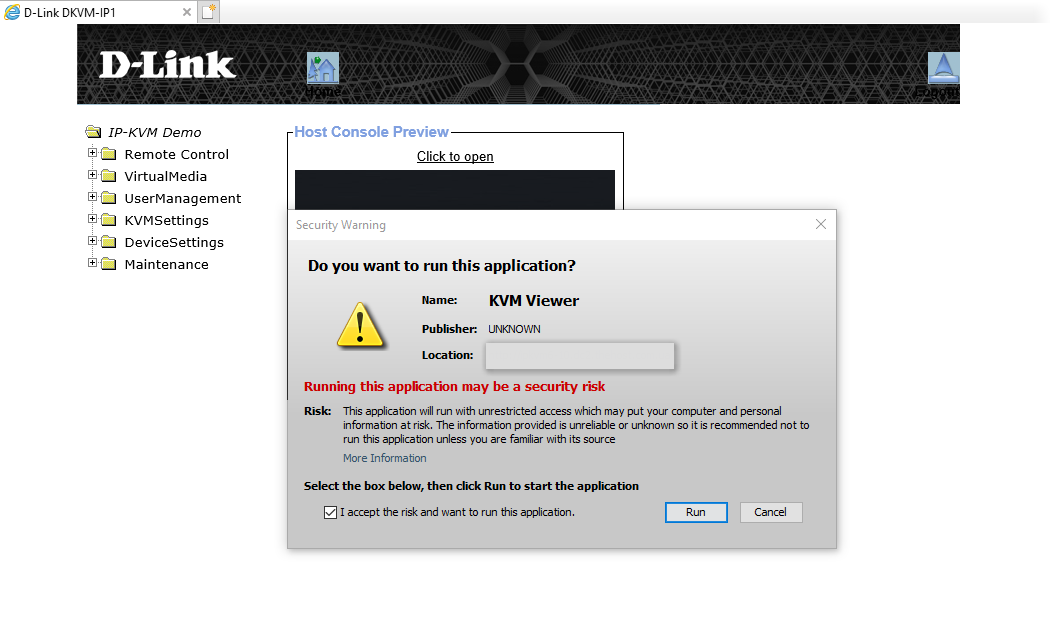
Make sure to grant Java plugin access to the specified page, as shown in the image above. If you made changes to the settings, be sure to restart the browser to apply the changes. After clicking on Click to open in Host Console Preview, a separate window for remote server management should open if you have followed all the previously described steps. If it doesn’t open, double-check the instructions provided earlier.
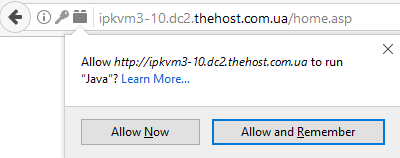
Attention: Some browsers may require permission to use the Java plugin for the successful launch of IP-KVM. For example, in Firefox ESR 32, you need to click on the plugin launch management button near the address bar and select the Allow and remember option.
Navigating in IP-KVM Console

- Ctrl+Alt+Delete sends the server for a reboot.
- Options->Soft Keyboard-Show opens a virtual keyboard, as shown in the image above.
- To connect your ISO-образа to the virtual CD-ROM, click the disk icon and, using the Connect ISO button, specify the path to the ISO file on your local PC.
- Using Connect Drive specify the disk on your local PC that you want to connect to the server. Click Disconnect to unmount the connected disk.
Important: sometimes, instead of an image in the console or its preview, you may see the inscription No Signal. This does not necessarily mean that there is really no signal from the server; you just need to log into the console and move or click with your mouse.
Note: It’s not possible to paste text from the remote PC’s clipboard into the IP-KVM command line - you can only type text using the keyboard.

