4.2.3 Woocommerce. Installation and Initial Setup
WooCommerce is a powerful WordPress plugin that turns your website into an online store. It is suitable for selling physical and digital goods, services or even subscriptions. With it, you can manage orders, payments and shipping directly from your website.
In this guide, we will explain how to install WooCommerce on your hosting with WordPress already installed.
Prerequisites
Important: following this instruction assumes that Wordpress is already installed on your hosting/server. On our hosting Wordpress can be installed in automatic or manual mode.
Check the requirements:
- PHP version 7.4 or higher.
- MySQL version 5.6 or higher.
- HTTPS installed for secure payments.
Our hosting service has all of the above. PHP and MySQL are within the required settings by default. An SSL certificate for HTTPS should be issued or purchased.
Make sure you have WordPress:
- Your site on the hosting must be accessible, and WordPress must be installed and configured.
- To check, log into your WordPress dashboard at
https://your-domain.com/wp-admin.
If you are unsure of your current hosting settings, please contact their support.
Installation
1. Log into your WordPress admin panel. Use your administrator credentials to do this.
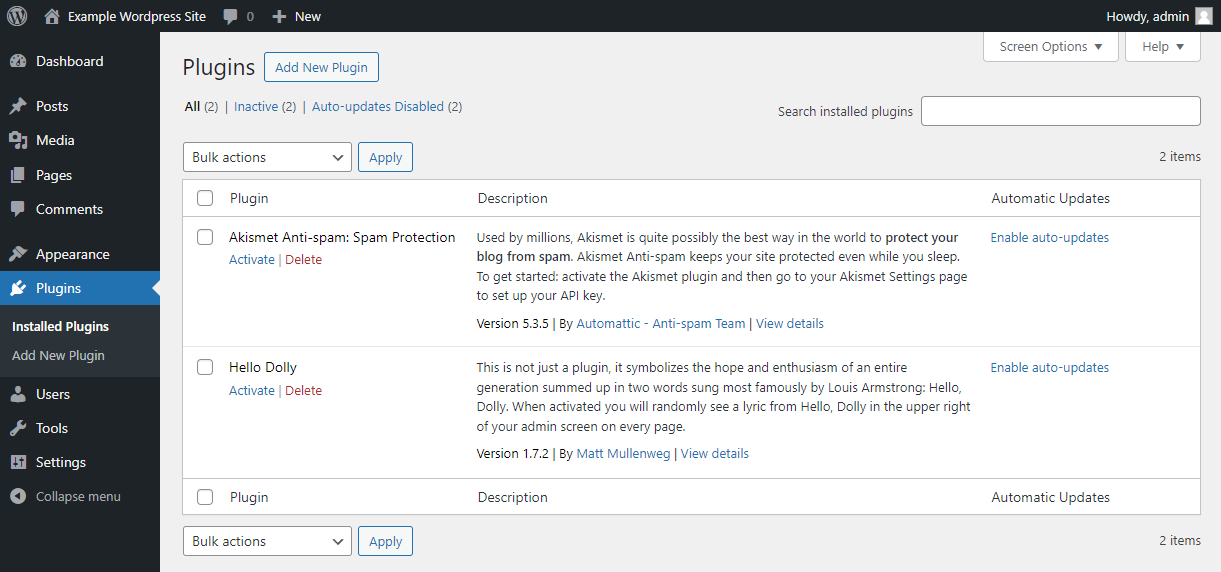
2. Go to the plugins section. In the left menu, select Plugins -> Add New:
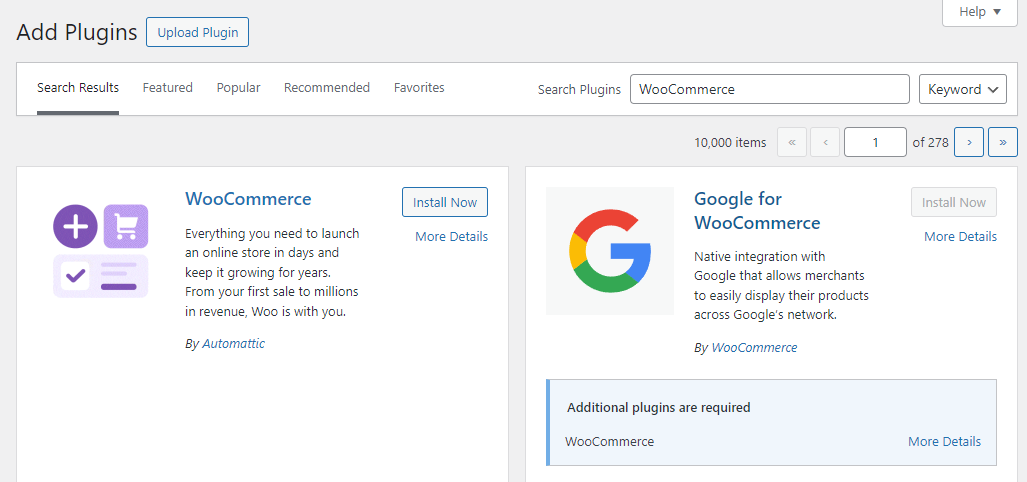
3. In the search bar, enter WooCommerce. Find the plugin with the WooCommerce logo and click Install:
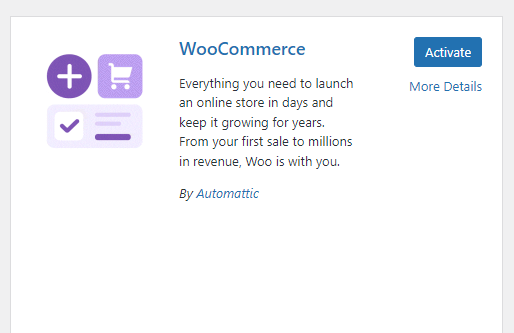
4. After installation, click the Activate button in the same window:
Initial setup
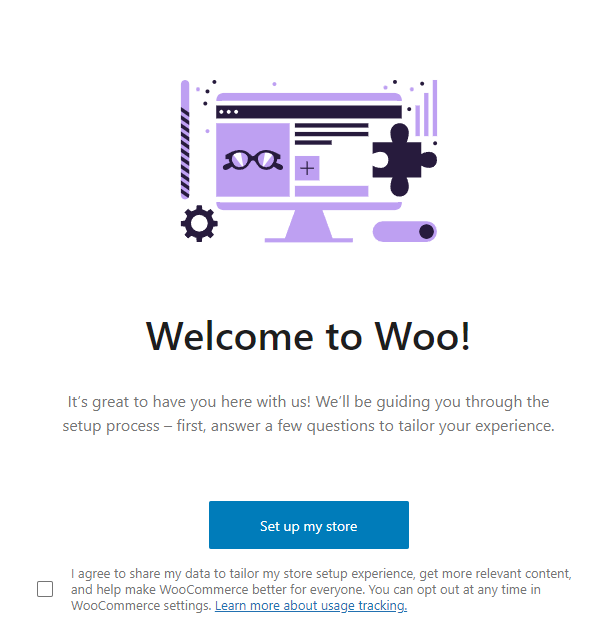
After activating the plugin, the setup wizard will open, which looks like this:
1. Click the only button present and start the initial setup. First, the setup wizard will ask you a few questions “about yourself”, filling them out does not matter:
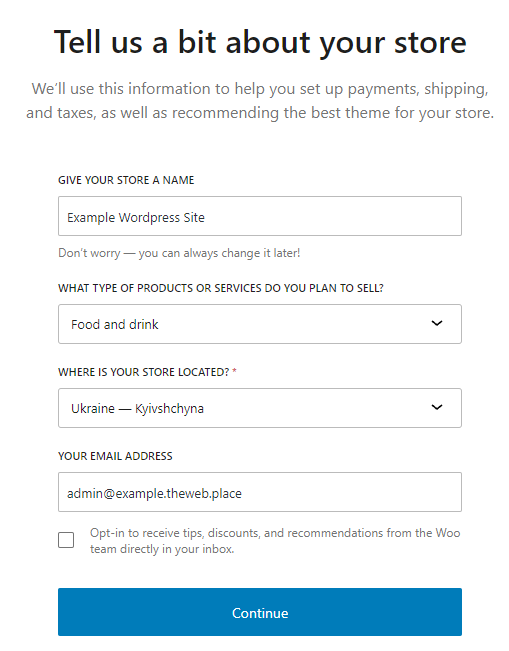
2. In one of the following forms, you need to select the country and region (for internal settlements) and the type of goods sold. In our example, we will select the Kyiv region and Food / drinks respectively:
3. We will be asked to install additional plugins, such as Google for WooCommerce. Choose at your discretion.
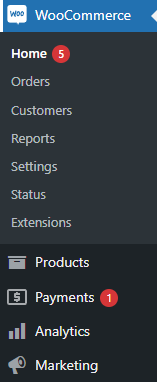
4. After completing the initial setup, we will have new elements in the Wordpress admin panel:
5. In the Home tab, the plugin will provide you with recommendations for further setup and launch of your online store:
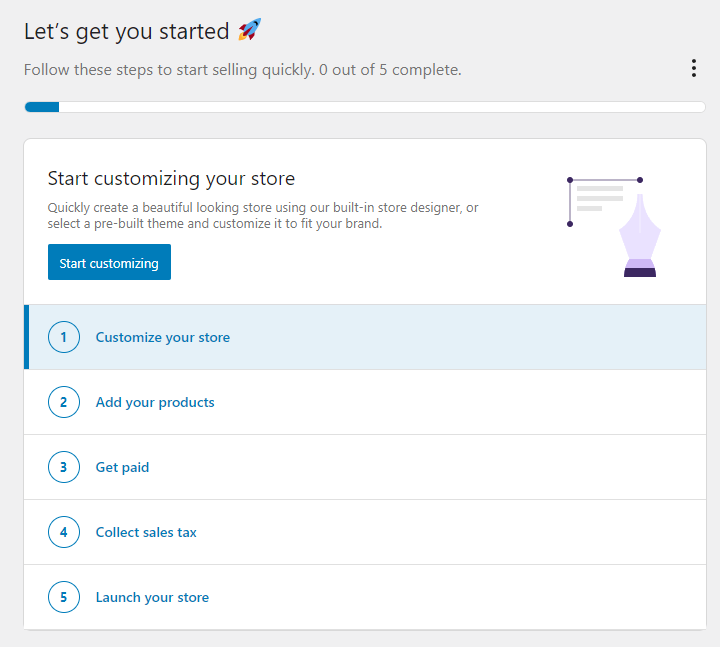
We will not go into all of them in this short instruction, but we recommend that you take into account the advice of the plugin developers.
The full, familiar address your-domain.com/shop will only be available after launching your store from the Home tab.
Adding your first product
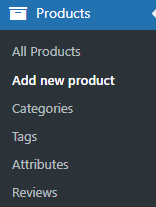
1. In the WordPress menu, select Products -> Add New:
2. Fill out the product card:
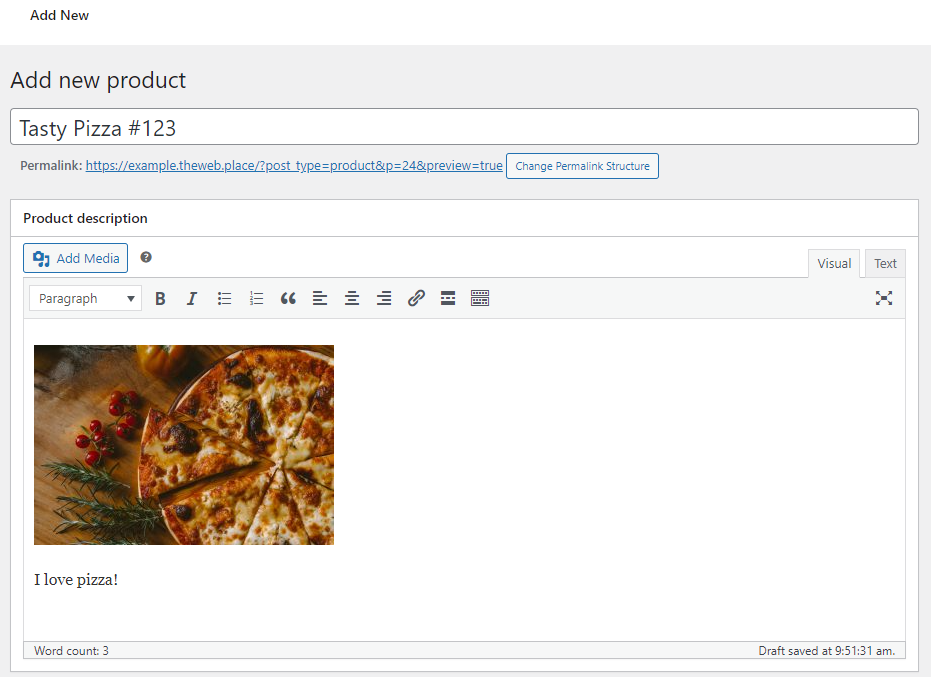
- Title and description.
- Price and, if necessary, promotional price.
- Upload product images.
- Specify categories and tags.
Then click Publish for the product to appear on the site.
After adding a product, you will be able to see the following message near the table of contents of the editing page:

By clicking on the specified link (View Product), you will be able to see how the product card will look in your future store:

Conclusion
Congratulations! You have taken the first step in creating an online store on WooCommerce.
However, WooCommerce is not just installation and basic setup. It is a deep system that can be adapted to any business needs.
If you’re not going to stop at the installation, here are some recommendations for further diving into WooCommerce:
1. Companion Plugins. Explore popular plugins to extend functionality, such as:
- WooCommerce Subscriptions - for setting up subscriptions.
- WooCommerce Bookings - for booking services.
- Elementor - for visually editing store pages.
- SEO Plugins (e.g. Yoast SEO) - to improve your site’s visibility in search engines.
2. Set up Analytics. Connect Google Analytics or use WooCommerce’s built-in reports to analyze sales, customer behavior, and store optimization.
3. Optimize the design and UX. Use WooCommerce-compatible themes like Astra or Flatsome to make your store look modern and attractive.
4. Develop logistics. Set up integrations with local shipping services and automate the shipping process.
Building an online store is an exciting journey. Start small, add new features as needed, and your store is sure to become successful!


