6.3.3 How to connect via FTP, sFTP, FTPs, WebDav
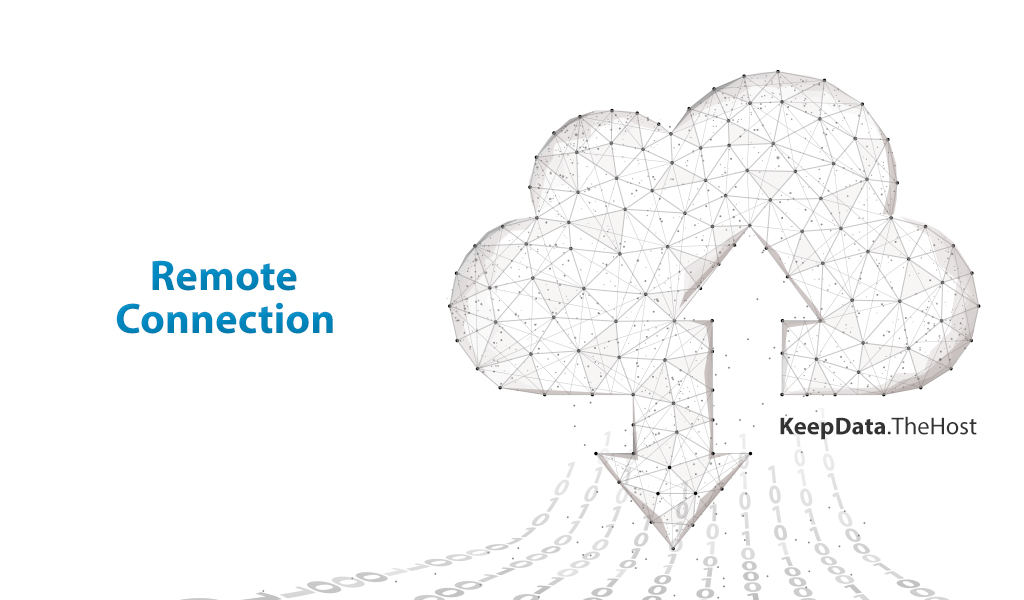
KeepData cloud storage provides the ability to connect using multiple data transfer protocols, including FTP, sFTP, FTPs and WebDav.
All of these protocols one way or another require a created and active user for your Cloud Storage.
User management
FTP, FTPs
To connect via FTP and FTPs you can create an unlimited number of FTP users with a unique home directory. This is done as follows:
1. Go to the FTP-users section and click on the Create FTP-user button.

2. Enter the name, password and home directory of the new user in the form. Specifying / as the home directory will give the user access to all files in the repository.

3. In the FTP users section, select the FTP user you just created and click on ··· to the right of it. In the open submenu, click FTP clients settings.

4. Review your access options.

sFTP, WebDav
You can use sFTP and WebDav only using your main account. Unfortunately, it is not possible to create additional users for this protocol. The initial parameters for accessing it can be found using the button Welcome.
Tip: The issue of using the WebDav protocol is discussed in more detail in separate article.
Establishing connection
Let’s look at examples of how to connect using each of the available protocols.
FTP, FTPs, sFTP using Filezilla as an example
1. Go to the official website FileZilla and download the latest version of the program for your operating system (Windows, macOS, Linux). If you already have Filezilla installed, go to step 3.
2. Install FileZilla following the installer instructions.
3. Launch FileZilla. In the top menu, select File -> Site Manager.
4. Click New Site and provide a name for your connection. On the right side of the window, enter the following information:
For FTP protocol
- Host:
your Cloud storage server address - Port: 21
- Protocol: FTP - File Transfer Protocol
- Encryption: Only use regular FTP (insecure)
- Input type: Normal
- User:
username - Password:
user password

For FTPs protocol
- Host:
your Cloud storage server address - Port: 21
- Protocol: FTP - File Transfer Protocol
- Encryption: Require explicit FTP over TLS
- Input type: Normal
- User:
username - Password:
user password
For sFTP protocol
- Host:
your Cloud storage server address - Port: 22
- Protocol: SFTP - SSH File Transfer Protocol
- Encryption: will be enabled by default (protocol requirement).
- Input Type: Normal
- User:
username - Password:
user password
5. Click Connect. If all data is entered correctly, FileZilla will establish a connection to the server: On the left side of the FileZilla window you will see your local files, and on the right you will see the files on the server. To upload files to the server, drag them from the left side of the window (local files) to the right (files on the server). To download files from the server, drag them from the right side of the window to the left.
sFTP using WinSCP as an example
1. Download and install WinSCP from the official website WinSCP.
2. Follow the installation wizard to complete the process. After installation, launch WinSCP.
3. To create a new connection, click New Tab.
4. In open form, indicate the transfer protocol. For this example we are using sFTP, but WinSCP also supports FTP, FTPs and WebDav connections.
5. Specify connection parameters to your FTP user. Since this connection is via sFTP, you must specify data from the main user of your Cloud storage:
For sFTP protocol
- Hostname:
your Cloud storage server address - Port: 22 (21 for FTP, 22 for sFTP, and 990 for FTPs).
- Username:
username - Password:
user password

6. Click Login. If all data is correct, you will successfully connect to your server.
FTP using Cyberduck (MacOS) as an example
1. Download and install Cyberduck from the official Cyberduck website. Follow the installation wizard instructions to complete the process.
2. Launch the Cyberduck application after installation. In the main window, click on the Open Connection button or select Open Connection from the File menu.
3. In the window that opens, select the required protocol and specify the connection information. We’re showing an example for FTP, but Cyberduck also supports sFTP and FTPS.
For FTP protocol
- Host:
your Cloud storage server address - Port: 21
- Protocol: FTP - File Transfer Protocol
- Encryption: Only use regular FTP (insecure)
- User:
username - Password:
user password

Tip: If you want Cyberduck to remember your password, check the Add to Keychain checkbox for macOS or a similar option for Windows.
4. After entering all the required data, click the Connect button. Cyberduck will connect to the server and you will see the contents of your cloud storage in the main application window.
WebDav using Windows as an example
In all modern versions of the Windows operating system, you can map a network drive using native OS tools.
Let’s take Windows 10 as an example.
1. Open Explorer by pressing the key combination Win + E or through the Start menu.
2. Select This PC.
3. In the top panel, click Map network drive.

4. Select a free letter for your network drive from the drop-down list. In the Folder field, enter the path to the network folder (for example, \\server.keepdata.thehost.ua\webdav\exampleuser):

5. Be sure to check the Connect using different credentials checkbox. Check the Recover at logon checkbox if you want the disk to be connected automatically every time you start your computer.
6. Click Done. A user and password entry window will appear, in which you need to specify access parameters for the main user of your Cloud Storage:

Now the network drive will appear in Explorer and will be available for use.
Tip: Working with the Dav protocol and connecting a network drive is described in more detail in separate article.

