6.2.4 Installing the OS and working with external ISO images
The list of available operating systems for your Cloud VPS/VDS is not limited to our ready-made templates. You have the ability to reinstall the OS to another desired one at any time, including using your own ISO image.
Warning: Reinstalling the OS on the server will completely delete all existing data on it.
Installing OS from the list of TheHost templates
Reinstalling the OS using ready-made recipes from TheHost is simple and quick, following the algorithm below:
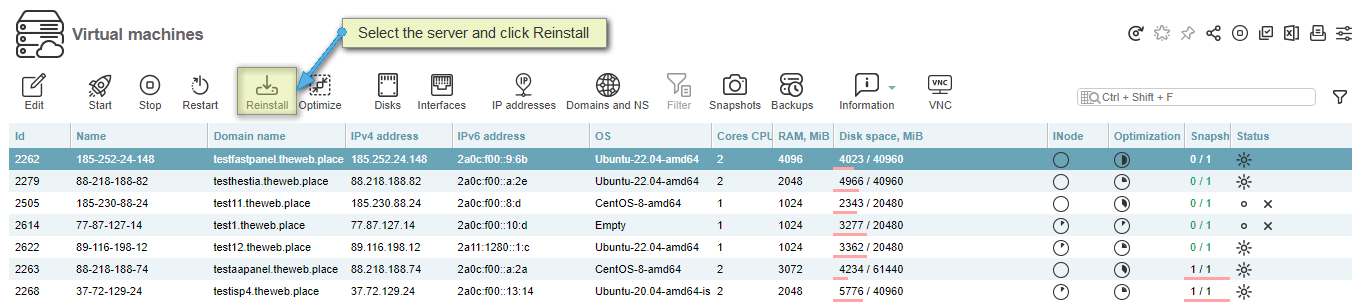
1. Log in to the VM-Cloud control panel. Go to the Virtual machines tab.
2. Select the desired server and click Reinstall.
3. In the open window, you can choose the desired OS from the list of ready-made templates, change the OS name, and specify a new password for it using the Change password checkbox. You can also specify public SSH keys to add to the installed operating system.
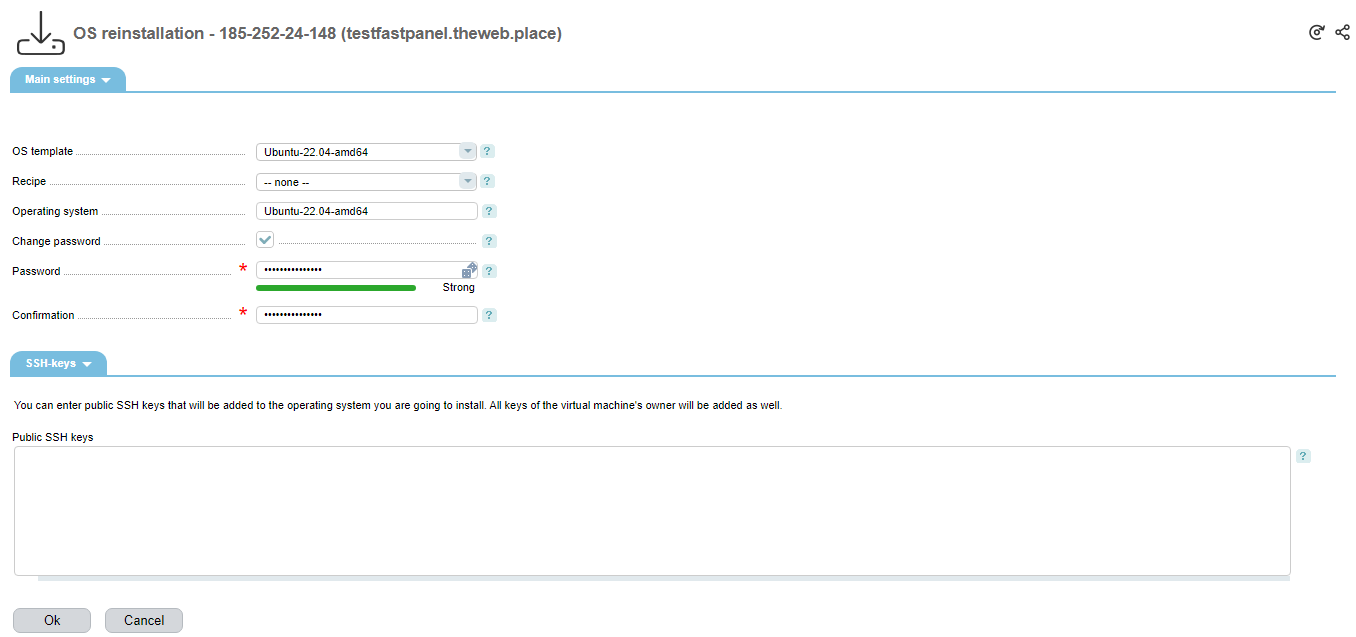
4. After clicking Ok, the reinstallation process will be initiated. It will take no more than 20 minutes, depending on the selected recipe.
Working with External ISO Images
If there is a need to connect an external ISO image to a virtual machine, this is done according to the following algorithm:
1. Log in to the VM-Cloud control panel. Go to the ISO-images tab.
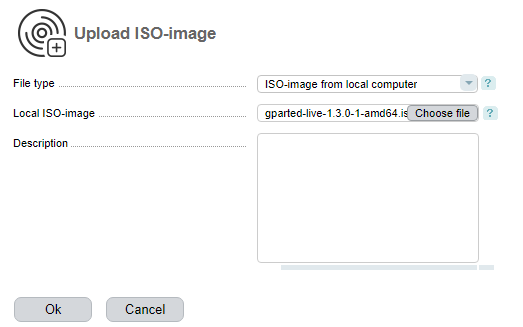
2. In the ISO-images tab, click the Upload button.
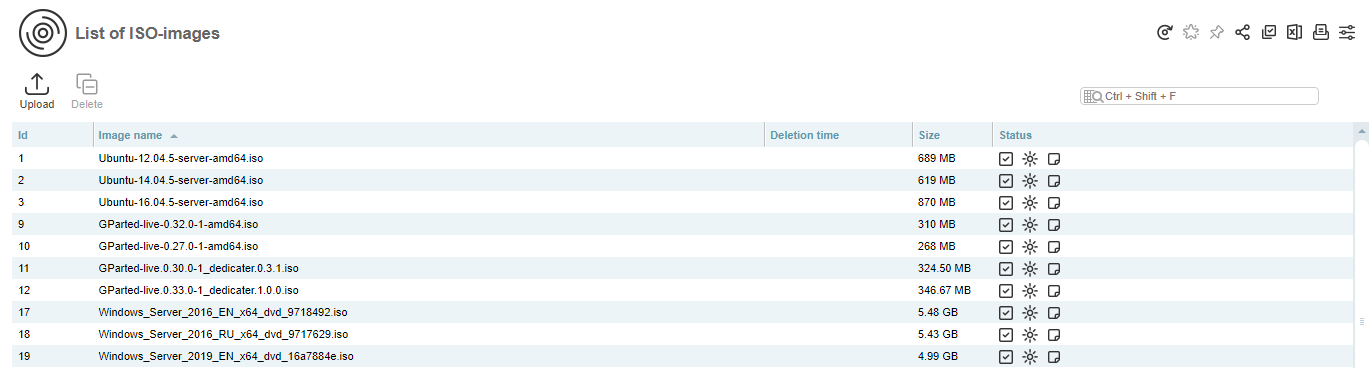
3. In the open form, you can choose the type of loading the ISO image: from a local PC or using a URL. In this example, we are loading the GParted image from a local PC. The loading itself will take some time, depending on the image size. After the image is loaded, it will appear in the list available for use in the ISO-images tab. It will be available for your account until you manually delete it using the Delete button.
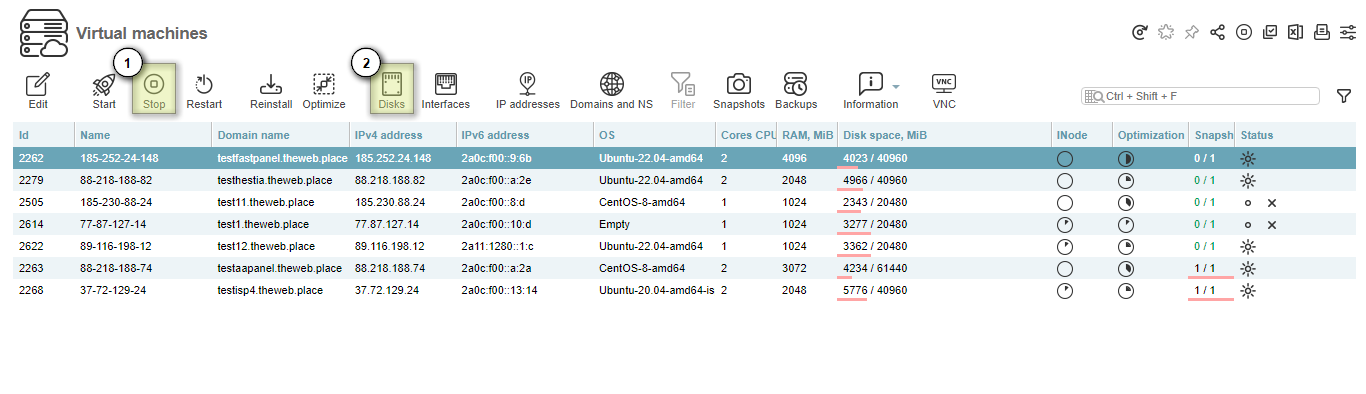
4. Go to the Virtual machines tab, select the desired server, and stop its operation by clicking the Stop button. After stopping the server, click Disks.
5. In the open window, click the ISO button. A form for selecting an image will open, where you can choose an image from the list available to you, specify a virtual device, and set the boot order. The boot order should be set to To the beginning.

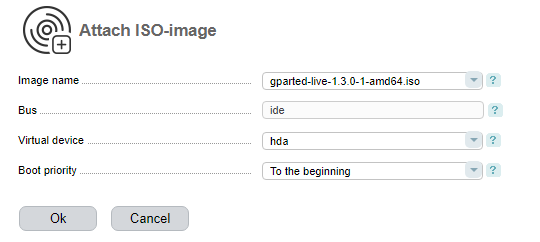
Warning: The required ISO image must be the first in the boot priority; otherwise, you will not be able to boot from it.

6. Return to the Virtual machines tab. Start the previously stopped server by clicking the Start button. Click VNC after server boot.

7. In VNC, we see the successfully loaded and operational GParted image.
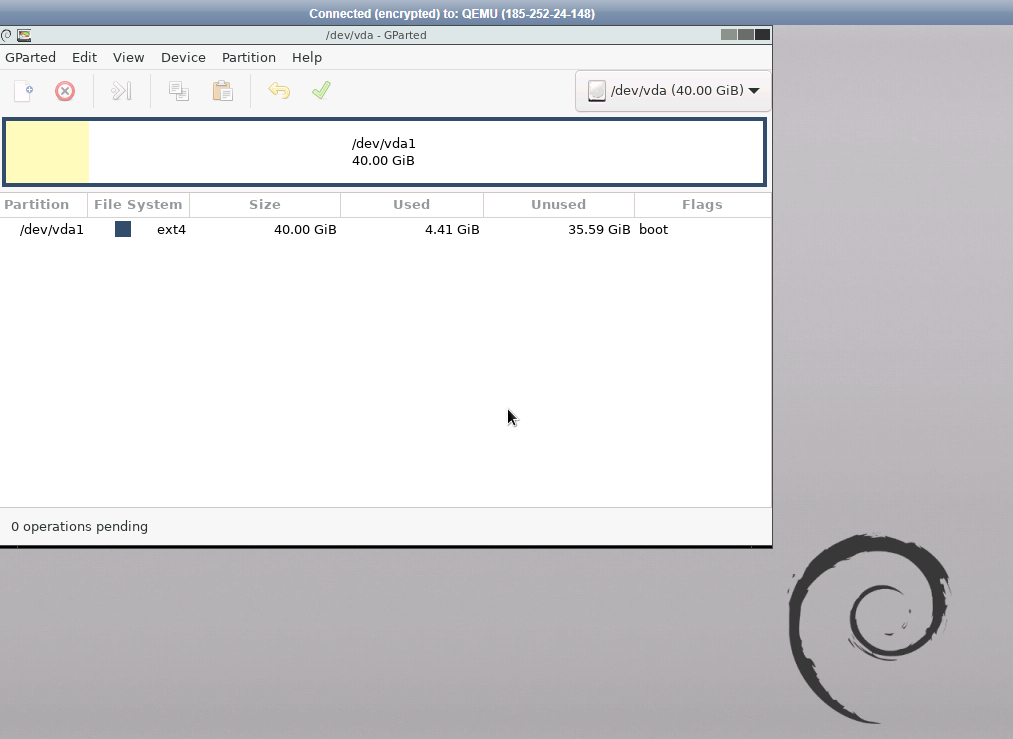
This guide demonstrates the ISO connection using the GParted example, but the procedure is applicable to any other ISO, including installation images of operating systems.
On this page

