4.1.1 Site builder. How to install CMS in automatic mode

CMS (Content Management System) is software that allows you to create, edit, and manage website content without deep programming knowledge. CMS significantly simplifies the process of creating and maintaining websites by providing a user-friendly interface for working with content.
Automatic installation of CMS is a quick and convenient way to deploy a website on hosting. This method allows You to install Your chosen CMS in just a few clicks, without the need to manually upload files and configure the database. This is especially useful for beginners or those who value their time.
However, it’s worth noting that with automatic installation, CMS versions are not always the newest. Therefore, after installation, it is recommended to perform all available updates through the site’s administrative panel to ensure security and get new features.
You can also install any CMS of any version manually, as shown in the example here, but this method will require a bit more manipulation than automatic installation.
Note: to install CMS in automatic mode, You must have ordered hosting service and a domain name.
You can also install a site without a registered domain name, but in this case, only You will be able to see it on the internet. This can be done by editing the hosts file.
Preparation for CMS Installation
Before starting the automatic CMS installation, You need to perform several preparatory steps:
1. Log into Your hosting account. The access parameters for the hosting control panel were sent to You in an email when You ordered the service. You can also find them in Your personal account in the Services section by selecting Your service and clicking Welcome.

Note: using the To server button, You can authorize to the hosting control panel without entering a login and password.
2. Make sure Your domain name is added to the account. If You specified a domain name when ordering the hosting service, it will be automatically parked. If not – go to the Main → Domain Names section in the ISP control panel and add Your domain. The procedure is demonstrated in our instruction.
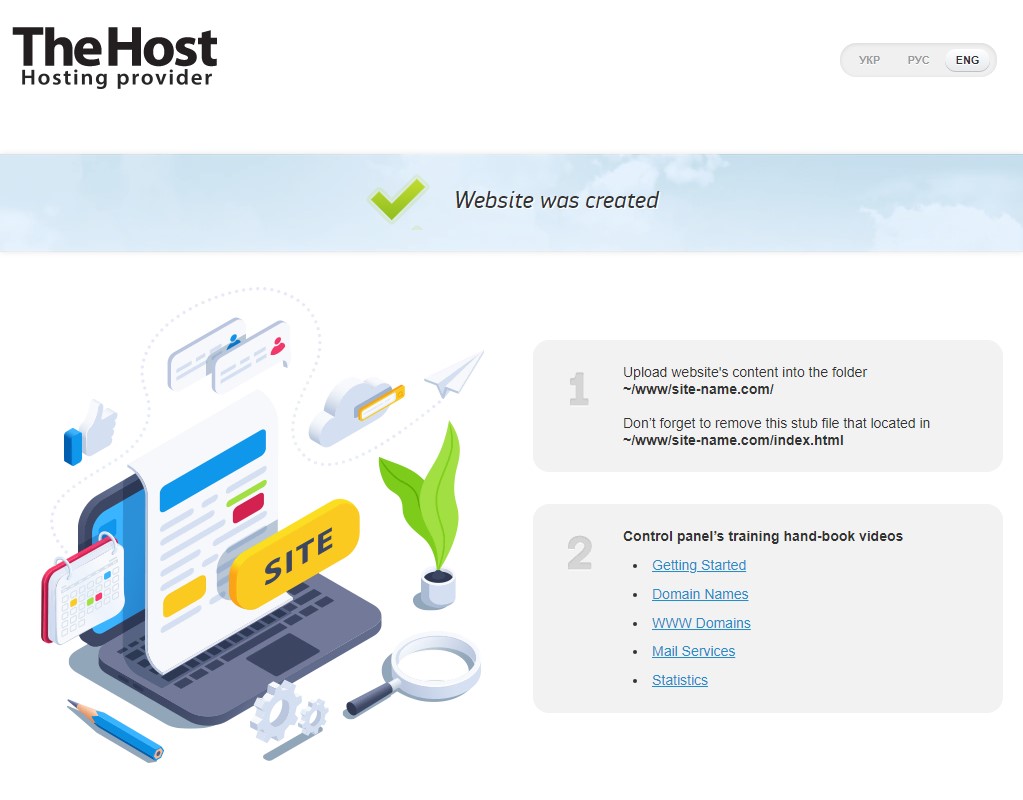
3. Check if the domain is correctly parked by opening it in a browser. If everything is set up correctly, You will see a message that the site has been created. According to the recommendation on the site page, delete the standard index file index.html, more details.

Automatic CMS Installation Procedure
After completing the preparatory steps, You can proceed to the direct installation of the CMS:
1. Go to the Tools → Web Scripts (APS) section and click the Install icon.

2. Select the desired CMS from the list. For example, we’ll choose Wordpress. Then click Install.
Choose the domain where you want to install the site. Leave the Path field empty if you want to install the CMS in the default folder. If You wish to install the site in a different location, for example, in example_domain.com/forum/, then specify the path in the corresponding field.

3. Fill out the form with administrator data and database parameters. Specify Your email address and choose the interface language if such an option is available. Save this data, as it will be needed to access the site’s administrative panel and the database management interface phpMyAdmin.

Reminder: fill in the fields with Latin (English) letters. We recommend using strong passwords.
For logging into the admin panel, You can change the username, which will increase protection against hacking.
4. Wait for the installation process to complete. After this, You will see a window with links to the administrative panel and the site.

5. Install a security certificate. You can order a commercial one or use the free Let’s Encrypt.
6. To access the administrative panel, go to the address specified in step 4, for example: https://Your_Site_Name.com/wp-admin/. Enter the access parameters that You specified in step 3.
- First, you need to enter the login and password that you indicated earlier.

- After entering the login and password, you will be redirected to the site control panel.

We recommend: after logging into the administrative panel, install all available updates. This will enhance Your site’s security.


