6.6.10 Remote backup in CWP control panel

The CWP Control Web Panel server control panel supports creating remote backups out of the box. However, to configure such backups, you will need access to the administrator account.
Configuring backup task
Let’s look at configuring such a task using the example of creating backups to your Cloud Storage:
Important: all highlighted variables in the examples must be replaced with your information.
1. Log in to your CWP control panel using the root account.
2. Go to the CWP Settings section, to the NEW Backup (beta) tab:

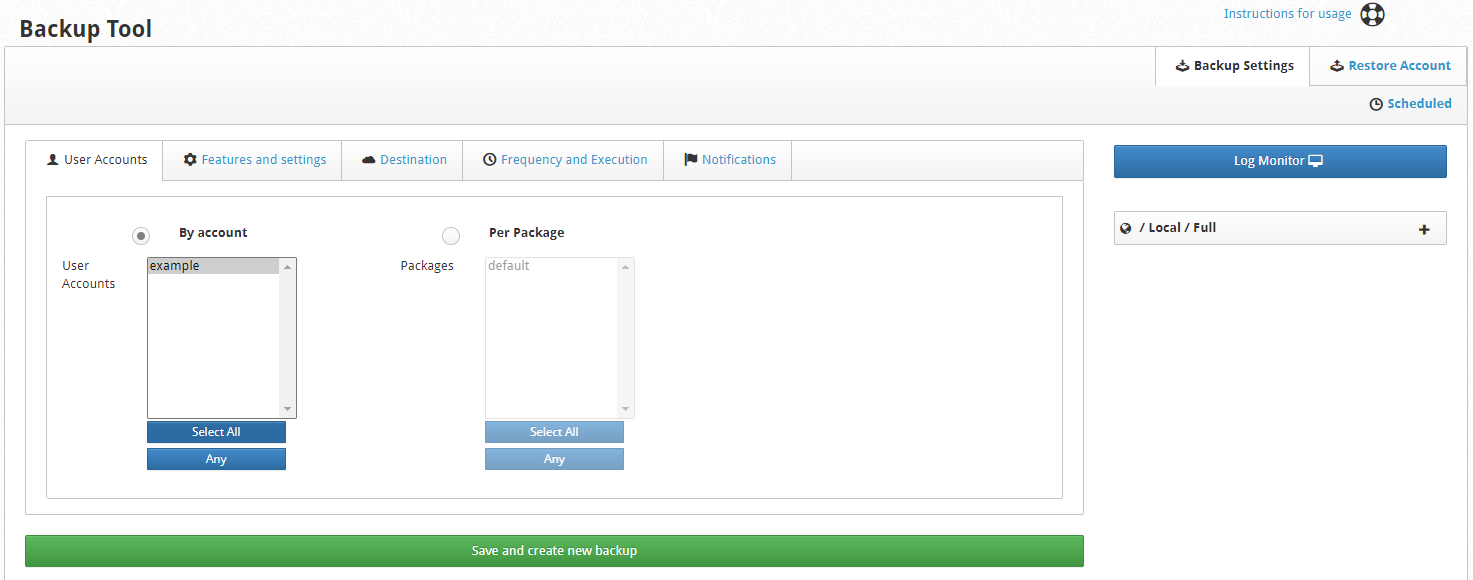
3. You will need to fill out 5 forms to configure the future backup: User Accounts, Features and settings, Destination, Frequency and Execution, Notifications. The first form, User Accounts allows us to specify which user accounts are subject to backup:
4. In the Features and settings tab, select which account content will become part of the backup:

5. Go to the Destination tab. Here you will need to specify where and with what access parameters our backup will try to write itself. In our example, this is FTP Server IP:

Where:
- FTP Server IP – remote host address, for example server.keepdata.thehost.ua. You can find out the address of your Cloud Storage host as follows. Both IP and hostname will do.
- FTP Port – leave it at 21 if you don’t need to use SFTP (22).
- User – active FTP user on the remote storage. In our example, ftp_user, created inside the KeepData panel.
- Password – password of such FTP user. In our example, ftp_password.
- Protocol – in our example FTP. SFTP is also supported.
- Destination – path to the directory (based on the root for the FTP user), where the backup will be written. In our example, it is /backup.
6. Frequency and Execution allows you to configure the frequency of backup execution:

7. The Notification tab is dedicated to configuring notifications:

8. After specifying all the necessary settings, click Save and create new backup at the bottom of the forms. Done! Now our new backup will be performed according to the schedule we specified! It will be uploaded to your Cloud Storage or any other remote server you specified. You can restore data from such a backup in the same tab, NEW Backup (beta). In the upper right corner, click Restore Account and select one of the existing backups for this purpose.
On this page

