4.1.10 Deployment MODX Revolution on hosting and server
MODX is an open-source content management system (CMS) and framework (CMF) written in PHP, designed to create flexible, high-performance websites and web applications of any scale.
It combines the simplicity of content management with the power of a framework: developers can write custom components, while administrators manage content through the convenient MODX Manager panel.
Preparing the environment
Requirements
Environment variables
DOMAIN_NAME— your site’s domainDB_NAME,DB_USER,DB_PASSWORD,DB_HOST— database connection parameters (usually127.0.0.1)ADMIN_EMAIL— administrator’s emailUPLOAD_PATH— website directory path (for example,~/www/DOMAIN_NAME)MODX_VERSION— MODX version (for example,3.0.6-pl)
Installing MODX on hosting
We’ll install the stable MODX version, configure the database, and set permissions. This method works for shared hosting and servers without Docker.
-
Download the MODX Revolution distribution. Go to the official website and download the archive.
-
Upload and extract the archive on the server. Upload the archive to your domain’s folder (
~/www/DOMAIN_NAME) via FTP or file manager in your hosting panel. -
Create the database and user. Create the database via the panel or run the commands over SSH:
Creating DB and userCREATE DATABASE DB_NAME CHARACTER SET utf8mb4 COLLATE utf8mb4_unicode_ci; CREATE USER 'DB_USER'@'localhost' IDENTIFIED BY 'DB_PASSWORD'; GRANT ALL PRIVILEGES ON DB_NAME.* TO 'DB_USER'@'localhost'; FLUSH PRIVILEGES; -
Set write permissions for required directories.
cd ~/www/DOMAIN_NAME
find core/cache core/export core/packages assets -type d -exec chmod 775 {} \;
find core/cache core/export core/packages assets -type f -exec chmod 664 {} \;
chown -R WWW_USER:WWW_GROUP .
This allows the installer to create configuration and cache files.
-
Run the web installer. Open
https://DOMAIN_NAME/setup/and go through the wizard:
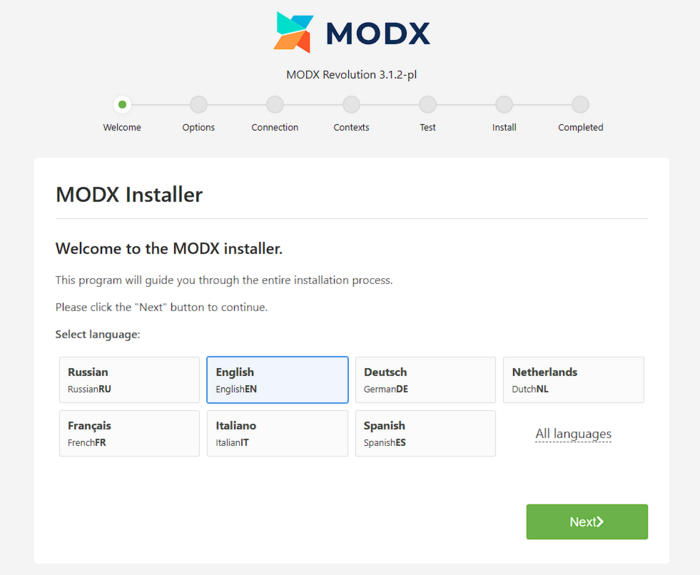
- installation type: New installation

- database access:
DB_HOST,DB_NAME,DB_USER,DB_PASSWORD
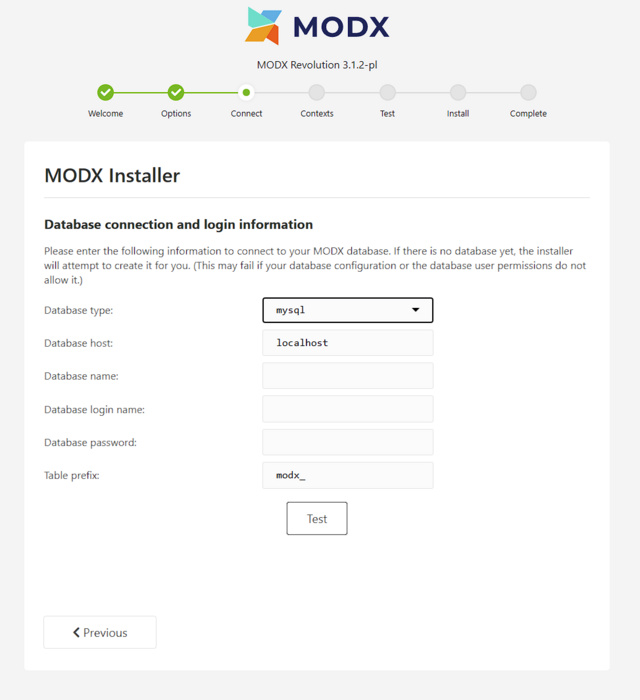
- leave the
core/path as default - enable Clean URLs (if rewrite is configured on the server)
- Remove the installer. Once done, click the delete setup/ button or remove the directory manually.
Tip! If you are migrating a site, import the database and the core/packages/ directory (with transport packages) first, then log into manager/ and clear the cache.
Configuring the web server for manual installation
Nginx
server {
    listen 80;
    server_name DOMAIN_NAME;
    root /var/www/DOMAIN_NAME;
    index index.php index.html;

    location / {
        try_files $uri $uri/ @modx;
    }

    location @modx {
        rewrite ^/(.*)$ /index.php?q=$1 last;
    }

    location ~ \.php$ {
        include fastcgi_params;
        fastcgi_param SCRIPT_FILENAME $realpath_root$fastcgi_script_name;
        fastcgi_pass unix:/run/php/php8.2-fpm.sock;
        fastcgi_read_timeout 120;
    }

    location ~* ^/(core|config.core.php) {
        deny all;
        return 403;
    }

    client_max_body_size 16m;
}
Create a symlink in sites-enabled, test the configuration with nginx -t, and restart the service.
PHP and extensions
See our guide for enabling PHP extensions in the hosting panel.
Update your php.ini:
memory_limit=256M, upload_max_filesize=16M, post_max_size=16M, max_execution_time=120
Restart php-fpm.
Check:
php -v
php -m | grep -E "mbstring|pdo_mysql|xml|zip"
php -i | grep opcache.enable
Configuring additional MODX features
Enabling SSL certificates
For HTTPS support, use Let’s Encrypt or a commercial SSL certificate.
Caching and performance
- Enable cache in System Settings:
cache_resource_default,cache_system_settings. - Activate OPcache in PHP.
- For heavy pages, consider Nginx caching via
proxy_cacheat the reverse proxy level.
Backups
- Database:
mysqldump DB_NAME | gzip > backup-$(date +%F).sql.gz - Files: archive
core/,assets/,config.core.php. Store backups outside the web root.
Verifying the installation
- Open
https://DOMAIN_NAME/manager/and log in. - Create a “Home” resource, mark it as
site_start, and enable Publish. - Clear the cache in the admin panel and check the homepage.
- Make sure
core/config/config.inc.phpexists and isn’t accessible via web.
Common issues
| Error / Symptom | Cause | Solution |
|---|---|---|
| 404 on all pages | Rewrite not working | Enable Friendly URLs and verify Nginx/Apache rules |
No records in core/cache |
Wrong directory rights | Fix permissions on core/cache, assets |
| Database connection failed | Incorrect DB_* values |
Verify login/host, recreate user |
| White screen / 500 error | Missing PHP extension | Install pdo_mysql, mbstring, zip |
| Manager not loading via HTTPS | Mixed content issue | Set site_url with https:// |
Useful links
Official documentation

