4.1.12 PrestaShop: Install on Hosting and Server

PrestaShop is an open-source CMS for online stores. PrestaShop supports a system of modules and themes, allowing you to extend functionality without changing the core. Thanks to an active community and a large number of ready-made extensions, the platform easily adapts to any business processes, from product catalogs to integrations with delivery services and CRMs.
Environment preparation
Requirements
- An active Hosting, Virtual Server, or Dedicated Server plan
- CPU: 2–4 vCPU; RAM: from 4 GB; SSD: from 20 GB
- OS: Ubuntu 22.04 LTS or 24.04 LTS
- Web server: Nginx 1.0+ or Apache 2.4+ (Unix environment recommended)
- PHP: 8.3–8.4 (8.4 recommended),
memory_limit≥512M - DBMS: MySQL 5.7+ or MariaDB 10.2+ (current minor versions recommended)
- Access: root or a user with
sudoprivileges
Environment variables
DOMAIN_NAME— your domain addressPS_VERSION— PrestaShop version, for example9.0.0DB_HOST,DB_NAME,DB_USER,DB_PASSWORD— database parametersWWW_USER,WWW_GROUP— web server user and group (usuallywww-data)SHOP_NAME,ADMIN_EMAIL,ADMIN_PASS— installation parameters
Installing PrestaShop on hosting
-
Download the PrestaShop distribution. Get a stable build from the project’s releases page on GitHub.
-
Upload the PrestaShop archive using the file manager or via FTP.
-
Create a user and a database.
-
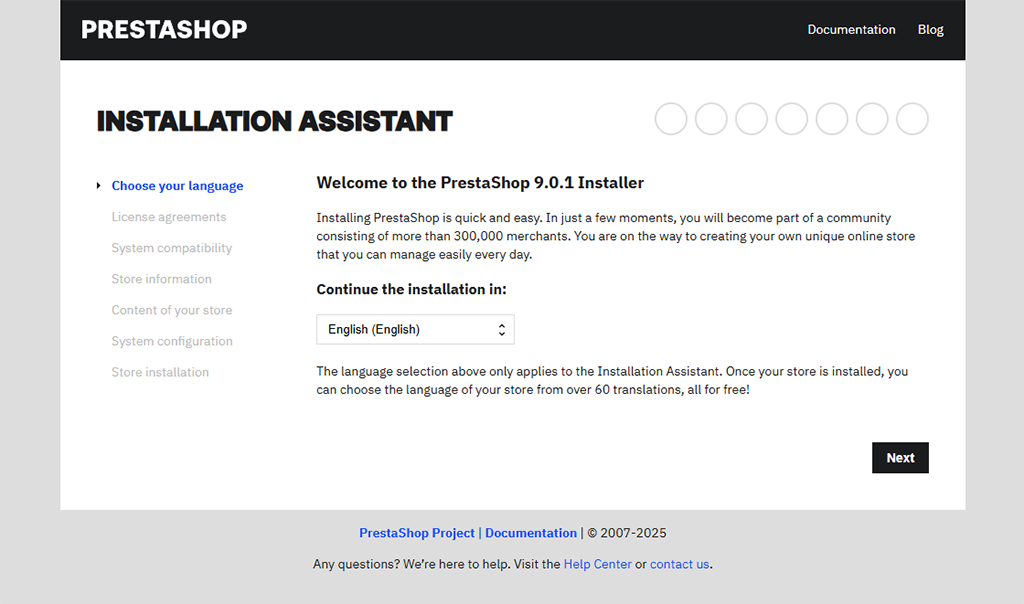
Run the web installer. Open
http://DOMAIN_NAME/install/and follow the setup wizard steps:
- Select your preferred interface language.
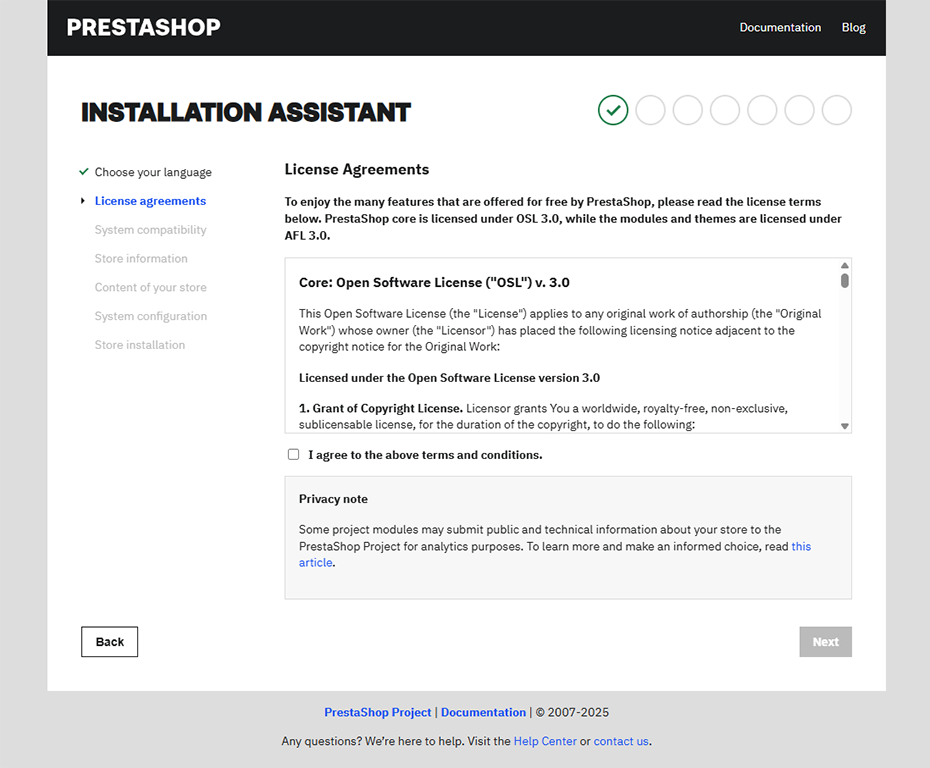
- Accept the license agreement.
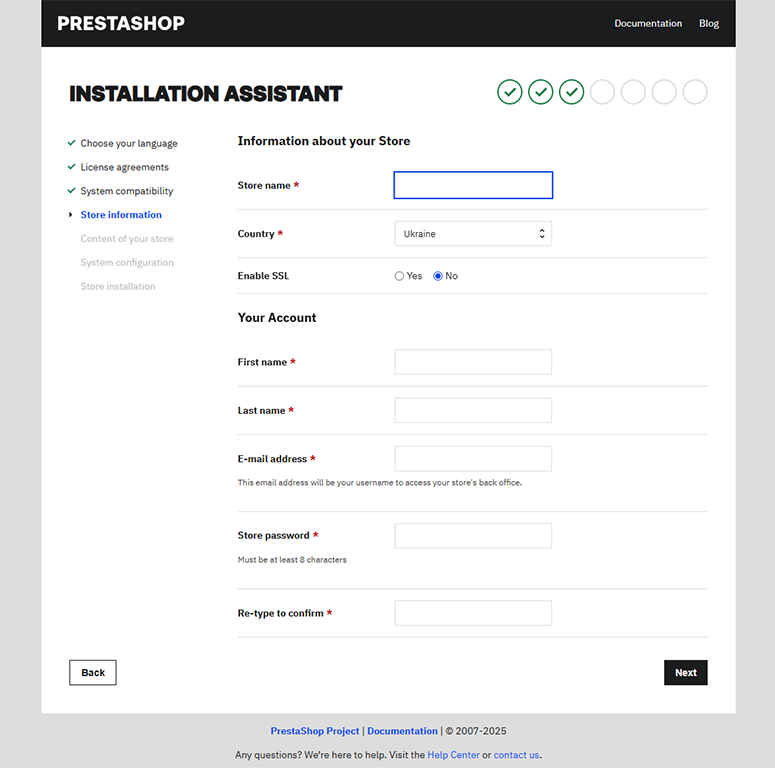
- Fill in the administrative details and your store information.
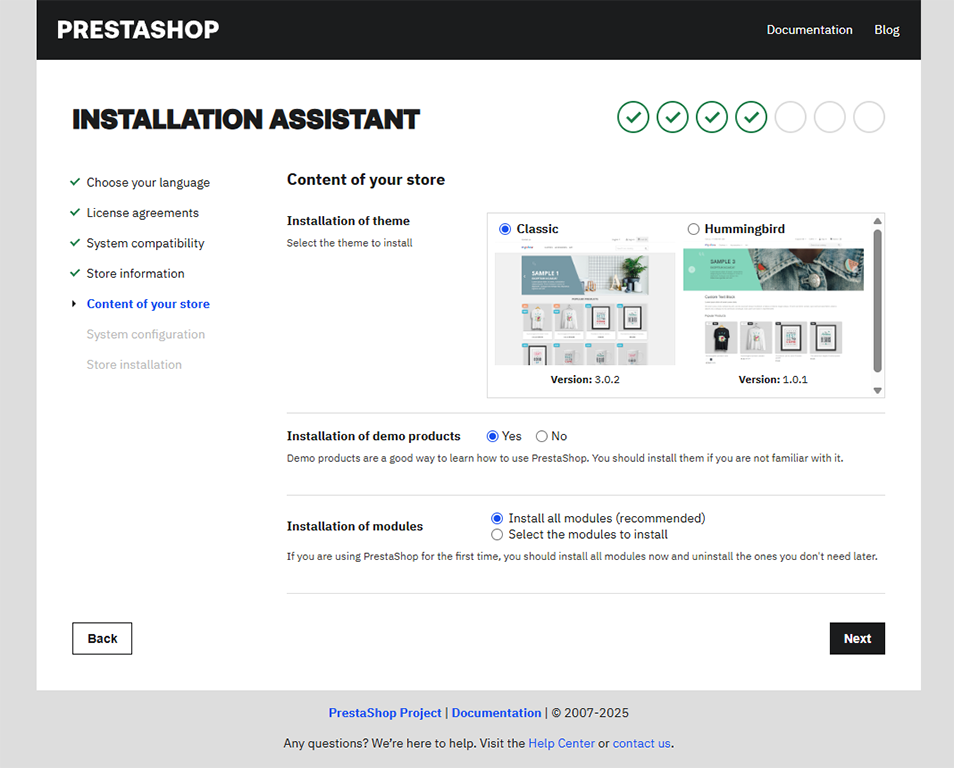
- Choose your preferred store theme.
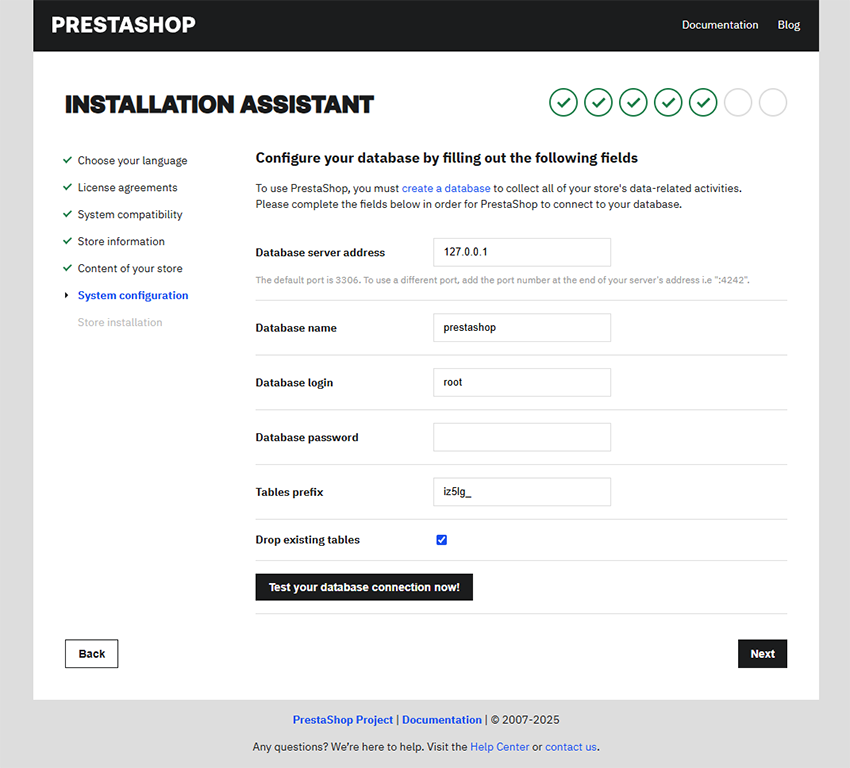
- Enter the parameters of the previously created database:
DB_HOST,DB_NAME,DB_USER,DB_PASSWORD.
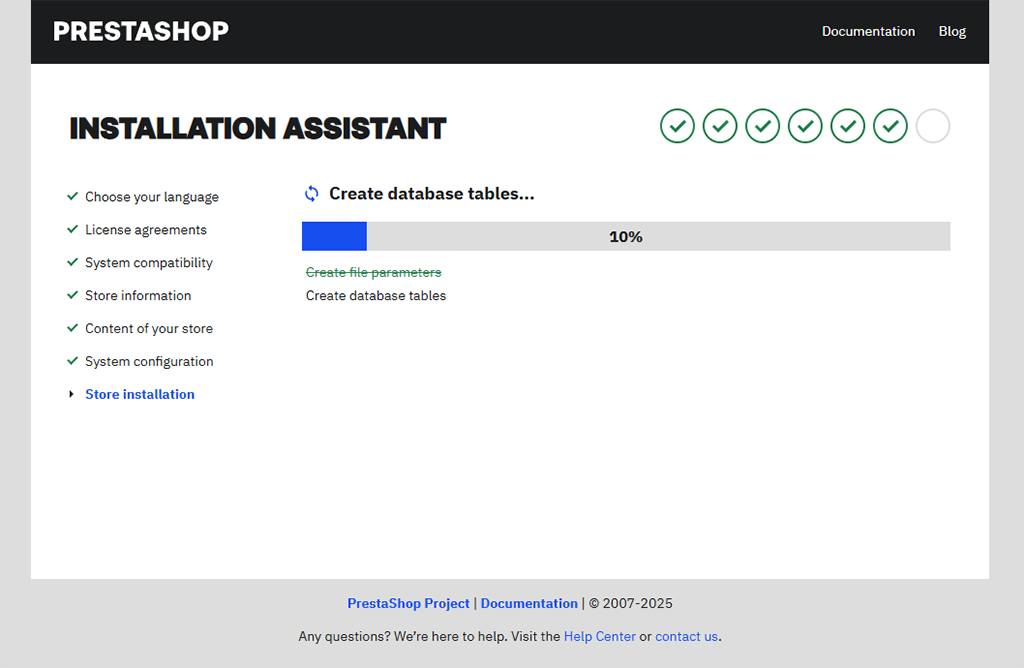
- Wait for the installation to complete.
Installing PrestaShop on a server
-
Download the PrestaShop distribution. Get a stable build from the project’s releases page on GitHub.
Create directory and download archivemkdir -p /var/www/DOMAIN_NAME && cd /var/www/DOMAIN_NAME wget -O prestashop.zip "https://github.com/PrestaShop/PrestaShop/archive/refs/tags/9.0.0.zip" unzip prestashop.zip && rm prestashop.zip -
Create the database and user. Run the following commands:
mysql -u root <<SQL
CREATE DATABASE DB_NAME CHARACTER SET utf8mb4 COLLATE utf8mb4_unicode_ci;
CREATE USER 'DB_USER'@'localhost' IDENTIFIED BY 'DB_PASSWORD';
GRANT ALL PRIVILEGES ON DB_NAME.* TO 'DB_USER'@'localhost';
FLUSH PRIVILEGES;
SQL
-
Install PHP and extensions. For Ubuntu 22.04/24.04 install PHP 8.3 and required modules:
Install PHP and extensions (Ubuntu)sudo apt update sudo apt install -y php8.3 php8.3-fpm php8.3-cli php8.3-mysql php8.3-xml \ php8.3-gd php8.3-curl php8.3-zip php8.3-intl php8.3-mbstring php -v php -m | grep -E "mbstring|intl|zip|curl|xml|gd|mysql"Increase PHP limits in
php.ini:memory_limit=512M,max_execution_time=300. -
Run the web installer. Open
http://DOMAIN_NAME/install/and follow the wizard.
Nginx web server configuration
Use the current example configuration from the official PrestaShop documentation.
server {
    listen 80;
    server_name DOMAIN_NAME;

    root /var/www/DOMAIN_NAME/;
    index index.php index.html;

    location / {
        try_files $uri $uri/ /index.php?$query_string;
    }

    # PHP scripts
    location ~ \.php$ {
        include fastcgi_params;
        fastcgi_param SCRIPT_FILENAME $realpath_root$fastcgi_script_name;
        fastcgi_pass unix:/run/php/php8.3-fpm.sock;
        fastcgi_read_timeout 120;
    }

    # Security: deny direct access to sensitive paths
    location ~* ^/(classes/|config/|download/|mails/|modules/|translations/|tools/|var/) {
        deny all;
        return 403;
    }
}
Create a symlink, test the config, and reload Nginx:
sudo ln -s /etc/nginx/sites-available/prestashop.conf /etc/nginx/sites-enabled/
sudo nginx -t && sudo systemctl reload nginx
Configuring additional PrestaShop features
SSL certificate (HTTPS)
To enable HTTPS, use Let’s Encrypt or a commercial SSL certificate.
PrestaShop cron tasks
Enable regular tasks via the Cron Tasks module or configure a system crontab:
crontab -e
# every 5 minutes:
*/5 * * * * wget -q -O - "http://DOMAIN_NAME/modules/cronjobs/cron.php?token=CRON_TOKEN"
Caching and performance
- Enable OPcache in PHP.
- On the Nginx side, use compression and caching for static assets. You can do it as shown here.
Verification and testing
- Open your site:
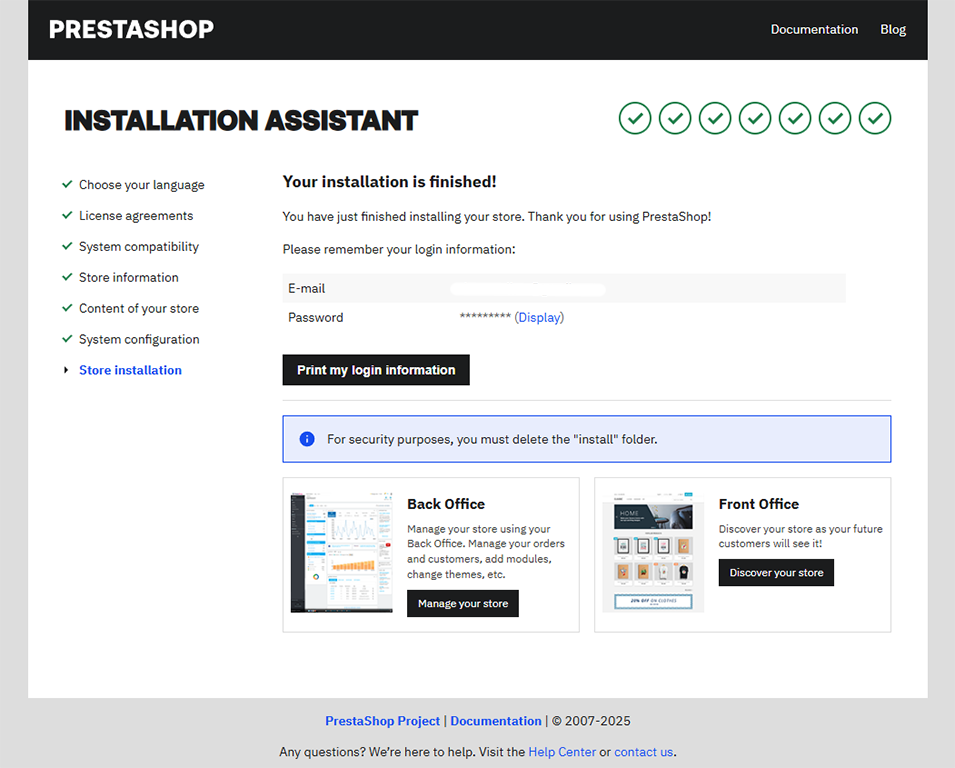
http://DOMAIN_NAME/— the storefront should load without 404s or redirect loops. - Admin panel login: after installation, the admin directory name receives a random suffix. The URL will look like
http://DOMAIN_NAME/admin<random_hash>/. - Enable Friendly URL in SEO settings and make sure pages and images open correctly. For Nginx, the
try_filesrule is critical.
Common issues
| Error / Symptom | Cause | Solution |
|---|---|---|
404/redirect to /index.php with Friendly URL enabled |
Incorrect try_files or conflicting locations |
Apply try_files $uri $uri/ /index.php?$query_string; and check for duplicate location blocks |
| 500 in the admin panel | Nginx/PHP config error, incompatible module | Compare with a reference configuration for PS 9; check PHP-FPM logs |
| Installer requires write access to many folders | Wrong file and directory permissions that prevent www-data from writing to the target paths |
Set the correct ownership/permissions for the project |
| Slow import/update | Low PHP limits, OPcache disabled | Set memory_limit=512M, enable OPcache |
| Image issues on Nginx with Friendly URL | Incomplete rules for virtual image URLs | Refer to current rules and discussions for PS 8/9 |
Useful links
Official documentation and resources

