8.2.3 Deployment and configuration of a production server for Django

Django is a popular Python framework for developing secure and scalable web applications. In this guide, we will step-by-step deploy a server on Ubuntu and configure it for production deployment of a Django project.
This guide will help you deploy a Django project on an Ubuntu server using Gunicorn, Nginx, and PostgreSQL — a typical configuration for production environments.
Before starting, make sure you have:
- A Virtual or Dedicated server
- sudo or root access
- A Django project
- A registered Domain name
Server and Dependency Setup
System Update and Dependencies Installation
First, connect to your server via SSH and update the system packages:
sudo apt update && sudo apt upgrade -y
Then install Python 3, pip, venv, Git, Nginx, and other basic utilities:
sudo apt install python3 python3-pip python3-venv git nginx curl -y
Installing python3-venv is essential for creating a virtual environment. Without it, the python3 -m venv command will not work.
Configuring the Nginx Web Server
Nginx will handle incoming requests and proxy them to Gunicorn:
sudo nano /etc/nginx/sites-available/projectname
server {
    listen 80;
    server_name yourdomain.com;

    location = /static/ {
        root /var/www/projectname;
    }

    location / {
        include proxy_params;
        proxy_pass http://unix:/run/gunicorn.sock;
    }
}
Create a symlink and check the configuration:
sudo ln -s /etc/nginx/sites-available/projectname /etc/nginx/sites-enabled/
sudo nginx -t
sudo systemctl restart nginx
Make sure that the ALLOWED_HOSTS variable in settings.py includes your domain or IP address, otherwise Django will block incoming connections.
Installing and Configuring Gunicorn
Gunicorn is a WSGI server through which Django operates in a production environment:
pip install gunicorn
gunicorn --workers 3 --bind unix:/run/gunicorn.sock projectname.wsgi:application
For permanent Gunicorn operation, let’s create a systemd service:
sudo nano /etc/systemd/system/gunicorn.service
[Unit]
Description=gunicorn daemon
After=network.target

[Service]
User=ubuntu
Group=www-data
WorkingDirectory=/var/www/projectname
ExecStart=/var/www/projectname/venv/bin/gunicorn --access-logfile - --workers 3 --bind unix:/run/gunicorn.sock projectname.wsgi:application

[Install]
WantedBy=multi-user.target
Activate the service:
sudo systemctl start gunicorn
sudo systemctl enable gunicorn
Installing SSL (Let’s Encrypt)
sudo apt install certbot python3-certbot-nginx -y
sudo certbot --nginx -d yourdomain.com
Let’s Encrypt certificates are automatically renewed every 90 days.
Security and Optimization
Configuring UFW (Uncomplicated Firewall)
Activate the firewall:
sudo ufw allow 'Nginx Full'
sudo ufw enable
Configuring iptables
For enhanced protection, you can use iptables:
# Install iptables-persistent to save rules
sudo apt install iptables-persistent -y

# Basic security rules
sudo iptables -A INPUT -i lo -j ACCEPT
sudo iptables -A INPUT -m conntrack --ctstate ESTABLISHED,RELATED -j ACCEPT
sudo iptables -A INPUT -p tcp --dport 22 -j ACCEPT
sudo iptables -A INPUT -p tcp --dport 80 -j ACCEPT
sudo iptables -A INPUT -p tcp --dport 443 -j ACCEPT

# Block all other incoming traffic
sudo iptables -A INPUT -j DROP

# Save rules
sudo netfilter-persistent save
It is also recommended to:
- Install fail2ban for bruteforce protection
- Disable DEBUG in production
- Use .env for storing sensitive data
- Set up regular backups
- Limit login attempts to the Django admin interface
Django Project Setup
Cloning the Django Project
Let’s assume your project is hosted in a GitHub repository. Navigate to the directory where you plan to place your project:
cd /var/www/
sudo git clone https://github.com/username/projectname.git
sudo chown -R $USER:$USER projectname
cd projectname
Replace https://github.com/username/projectname.git with your own repository. Make sure the project structure includes the manage.py file.
Setting Up the Virtual Environment
A virtual environment allows you to isolate project dependencies:
python3 -m venv venv
source venv/bin/activate
After activation, install dependencies from requirements.txt:
pip install --upgrade pip
pip install -r requirements.txt
Database Configuration
If your project uses PostgreSQL, let’s install the necessary packages and create a user and database:
sudo apt install postgresql postgresql-contrib libpq-dev -y
sudo -u postgres createuser myuser --interactive
sudo -u postgres createdb mydb
Don’t forget to set a strong password for the database. The password will be used in settings.py.
Open settings.py and add the connection details:
DATABASES = {
    'default': {
        'ENGINE': 'django.db.backends.postgresql',
        'NAME': 'mydb',
        'USER': 'myuser',
        'PASSWORD': 'your_password',
        'HOST': 'localhost',
        'PORT': '',
    }
}
Running Migrations and Collecting Static Files
Now let’s prepare the database and collect static files:
python manage.py makemigrations
python manage.py migrate
python manage.py collectstatic --noinput
The collectstatic command gathers all CSS, JS, and images into the staticfiles folder so Nginx can serve them directly.
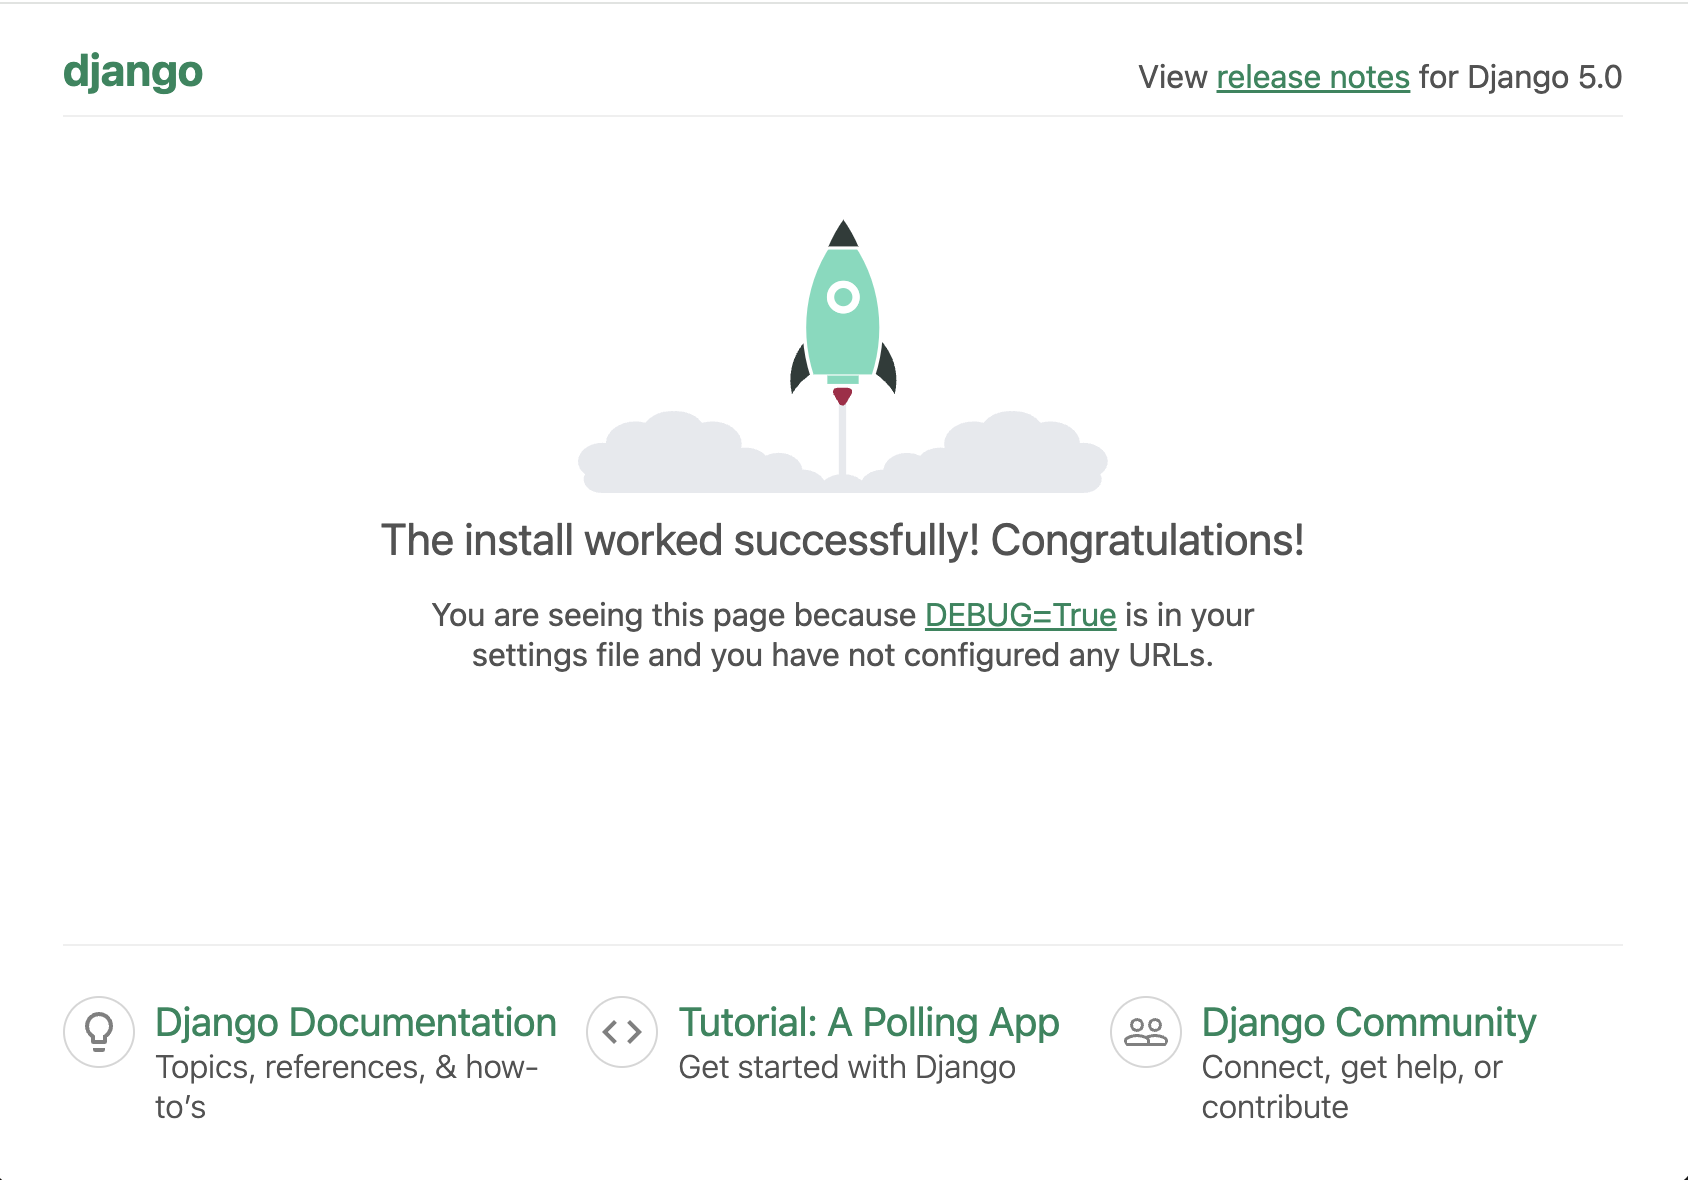
After completing all the steps, you should see the page of the newly created Django site in your browser: