6.6.15 1pabel installation and Configuration
In the modern world of web development and hosting, effective server management is a key factor for success. 1Panel is a powerful and intuitive open-source server control panel that greatly simplifies the deployment and management of web applications. It provides a convenient graphical interface for tasks such as installing web servers, databases, PHP, managing websites, SSL certificates, and backups.
Preparing the Server
Requirements
Variables
SERVER_IP_ADDRESS— the server’s IP address.YOUR_DOMAIN— the site’s domain (e.g.,example.com).DB_NAME— WordPress database name.DB_USER— WordPress database user.DB_PASSWORD— password for the database user.WP_USER— WordPress administrator username.WP_PASSWORD— WordPress administrator password.WP_EMAIL— WordPress administrator email.
Updating System Packages
Always update packages to their latest versions to improve security.
- sudo apt update && sudo apt upgrade -y
Configuring the Firewall
UFW (Uncomplicated Firewall) protects your server by allowing only necessary connections.
Important! Make sure to keep port 22 (SSH) open, otherwise you will lose server access.
- sudo ufw allow 22/tcp # SSH
- sudo ufw allow 80/tcp # HTTP
- sudo ufw allow 443/tcp # HTTPS
- sudo ufw allow 33064/tcp # 1Panel
- sudo ufw enable
- sudo ufw status
iptables
- sudo iptables -A INPUT -p tcp --dport 22 -j ACCEPT
- sudo iptables -A INPUT -p tcp --dport 80 -j ACCEPT
- sudo iptables -A INPUT -p tcp --dport 443 -j ACCEPT
- sudo iptables -A INPUT -p tcp --dport 33064 -j ACCEPT
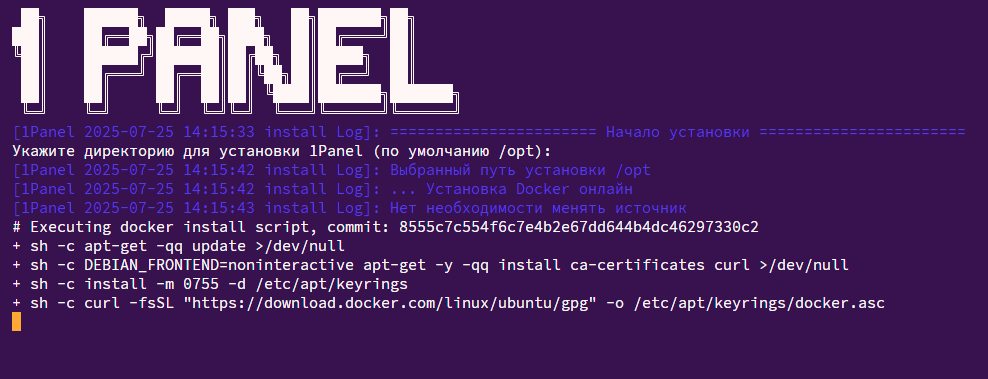
Installing 1Panel
The script below will download and install 1Panel.
- curl -sSL https://resource.1panel.pro/quick_start.sh -o quick_start.sh && bash quick_start.sh
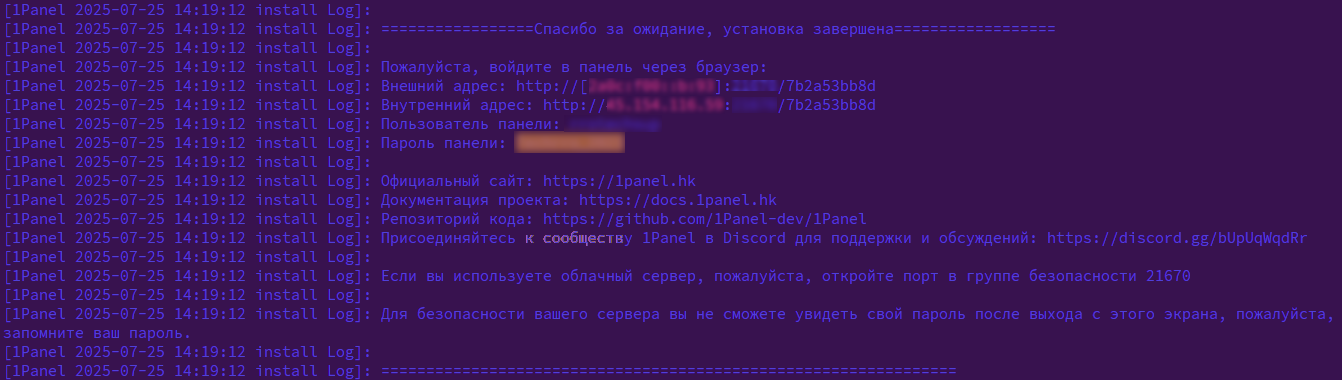
Once complete, the installation will display a URL like http://SERVER_IP_ADDRESS:33064, along with the admin username and password — make sure to save them.
First Login to 1Panel and Basic Configuration
- Open your browser:
http://SERVER_IP_ADDRESS:33064. - Log in using the credentials provided by the installation script.
Important! Immediately change the admin password under User → Password.
Installing LAMP Stack
First, we need to install Nginx, MySQL, PHP, and WordPress. Go to the App Store section. To install a service, simply click Install on its card.
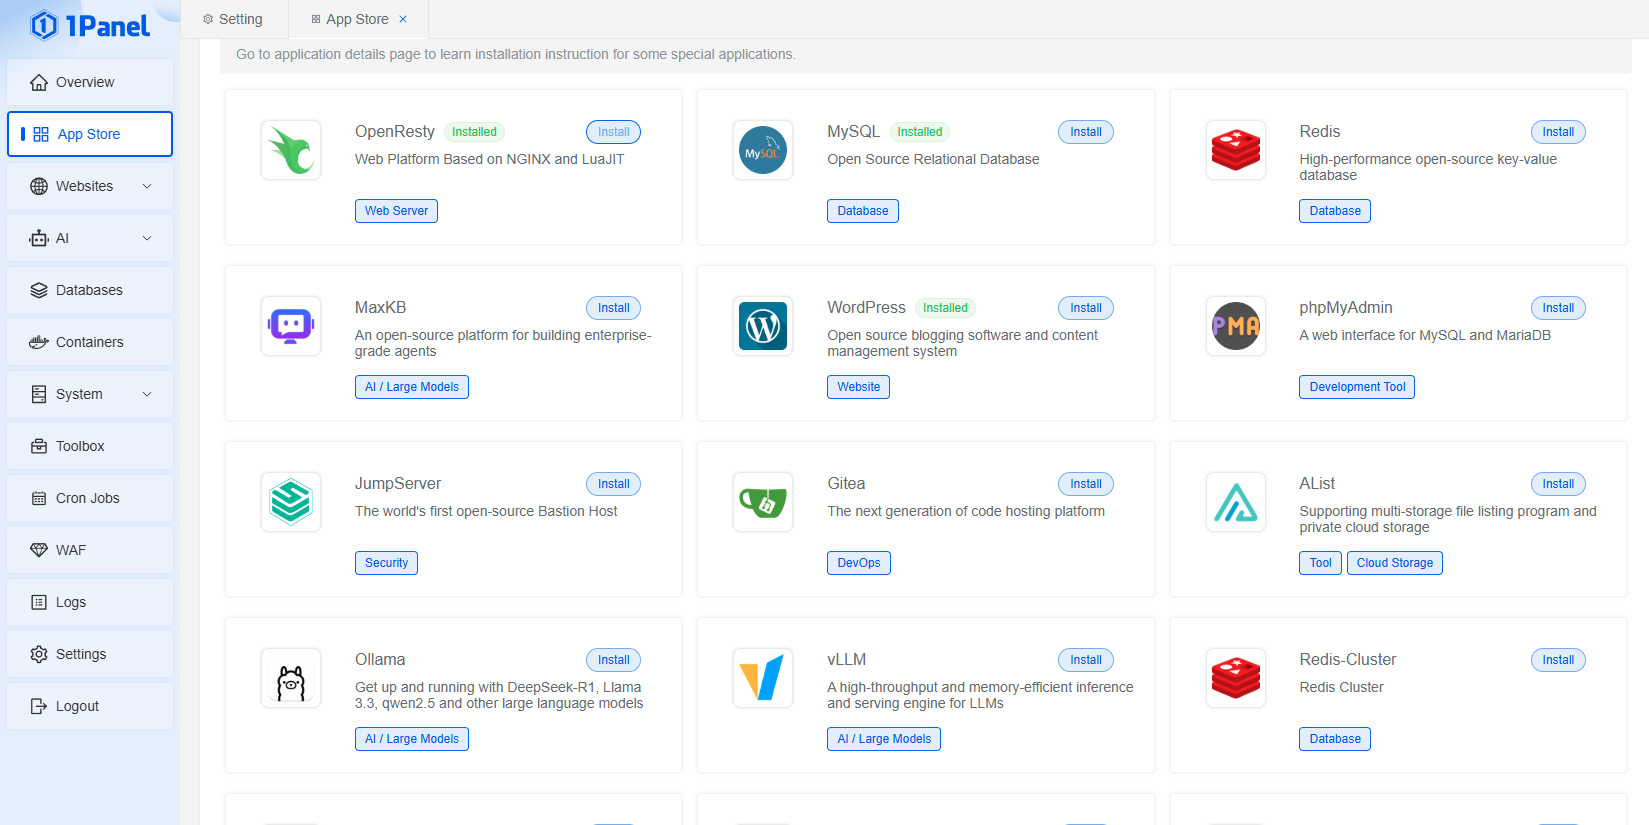
Wait for each component to finish installing.
Tip: If you need to allow external access to the service (for example, to connect from another network rather than only from the local one), you must correctly specify the external port.
An external port is the port number through which users from the internet can connect to your server or container.
Creating a MySQL Database for WordPress
WordPress requires a database to store all site data. Let’s create it via 1Panel.
- In 1Panel, go to the Databases section.
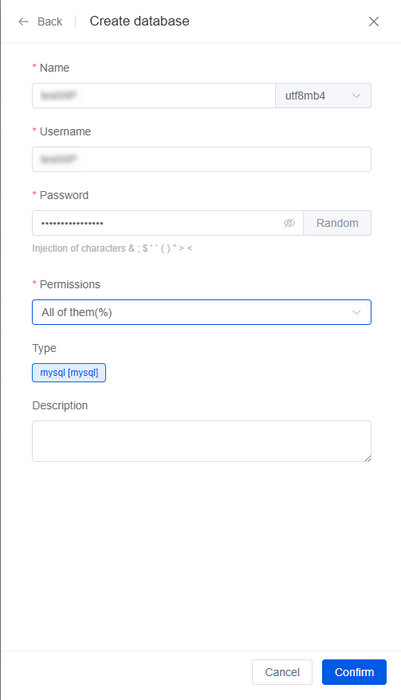
- Click Create Database.
-
Fill in the following fields using the variables defined earlier:
- Database Name:
DB_NAME - Username:
DB_USER - Password:
DB_PASSWORD
- Database Name:
-
Click Confirm. Make sure to record these credentials — you will need them when setting up WordPress.
Adding a New Website in 1Panel
Now let’s create a record for your WordPress site in 1Panel.
- In 1Panel, go to the Websites section.
- Click Create Site.
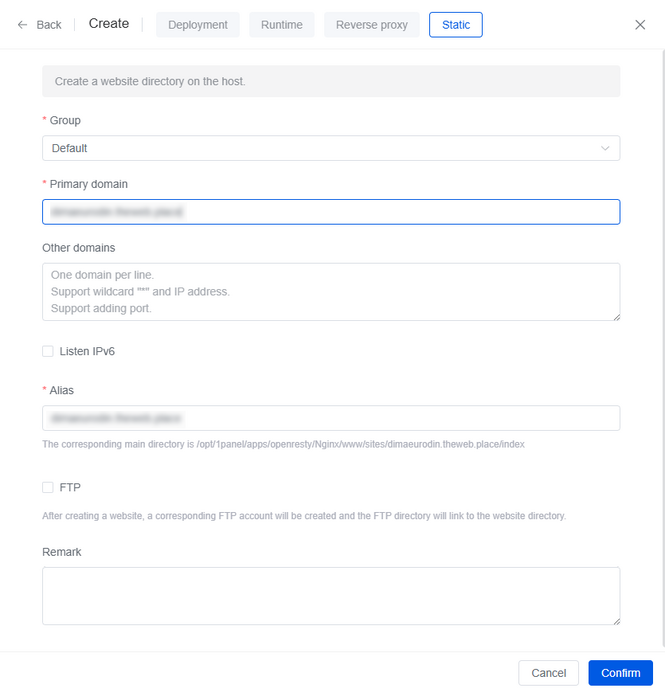
- Fill in the required fields:
- Primary domain:
YOUR_DOMAIN(e.g., example.com) - Site Directory: 1Panel will suggest a path, for example
/opt/1panel/apps/openresty/openresty/www/sites/YOUR_DOMAIN. Confirm it. - PHP Version: Select the installed PHP 8.3.8.
- Nginx Version: Select the installed Nginx 1.26.0.
- Click Confirm. 1Panel will create the necessary configuration and directory for your site.
Uploading WordPress Files
Let’s upload WordPress files into your new site’s root directory.
- Connect to your server via SSH.
- Go to your site’s directory, which 1Panel created automatically. The path will look like:
- cd /opt/1panel/apps/openresty/openresty/www/sites/YOUR_DOMAIN
3. Download the latest stable version of WordPress:
- wget https://wordpress.org/wordpress-6.6.tar.gz
4. Extract the archive:
- tar -xzf wordpress-6.6.tar.gz
5. Move the WordPress folder contents to the root directory and delete temporary files:
- mv wordpress/* .
- rm -rf wordpress wordpress-6.6.tar.gz
6. Set the correct file ownership so the web server can access them. Usually, it’s the www or www-data user, depending on your 1Panel setup.
- sudo chown -R www:www .
Configuring wp-config.php
The wp-config.php file contains WordPress database connection settings.
- In the site’s root directory, copy
wp-config-sample.phptowp-config.php:
- cp wp-config-sample.php wp-config.php
- Open
wp-config.phpin a text editor, for example nano:
- nano wp-config.php
- Find the following lines and replace them with your database details:
define( 'DB_NAME', DB_NAME );
define( 'DB_USER', DB_USER );
define( 'DB_PASSWORD', DB_PASSWORD );
define( 'DB_HOST', localhost );
DB_NAME— your database name.DB_USER— your database username.DB_PASSWORD— your database password.DB_HOST— usuallylocalhostsince the database is on the same server.
- Save the changes and close the file.
Completing WordPress Installation via Web Interface
Now you can complete the WordPress installation through the web interface.
- Open your browser and go to: http://
YOUR_DOMAIN. - You will see the WordPress welcome screen. Select your language and click Continue.
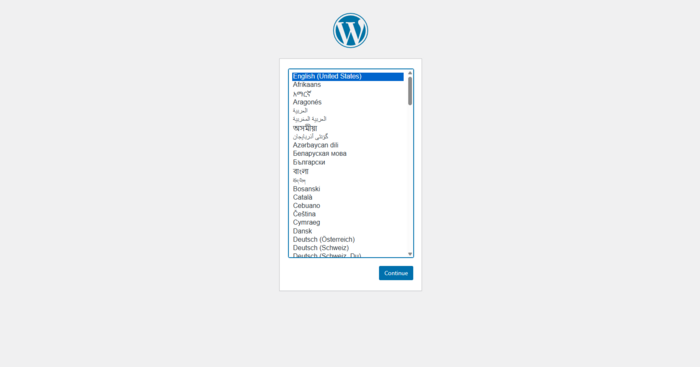
Tip: You can review our WordPress setup guide for more details.
After completing the installation, you can log into the WordPress dashboard.
Setting Up Automatic Website and Database Backups
Regular backups are critical for your site’s security. 1Panel includes built-in tools to automate this process.
- In 1Panel, go to the Backup section.
- Click Create Backup Task.
- Configure the task:
- Task Name: Give the task a clear name.
- Backup Type: Select Website and Database.
- Select Site: Choose your WordPress site.
- Select Database: Choose the database you created for WordPress.
- Backup Cycle: Set the desired frequency.
- Retention Policy: Define how many backups to keep.
- Storage Location: Choose where backups will be stored.
4. Click Confirm. 1Panel will create the task, and backups will run automatically on schedule.
Additional Features of 1Panel
- File Manager — graphical file management.
- Cron Jobs — schedule tasks.
- Logs — easy log viewing.
- Security — IP blocking and basic DDoS protection.
- Monitoring — CPU, RAM, and SSD usage statistics.
Common Issues
| Error / Symptom | Cause | Solution | Diagnostics |
|---|---|---|---|
| No access to 1Panel on :33064 | Port closed or service not running. | Open port: sudo ufw allow 33064/tcp; check service: sudo 1pctl status. |
sudo ufw status; sudo 1pctl status; sudo journalctl -u 1panel -f |
| “Error establishing a database connection” in WP | Incorrect settings in wp-config.php. |
Check DB_NAME, DB_USER, DB_PASSWORD, DB_HOST. |
MySQL logs: /opt/1panel/apps/mysql/mysql8.0.37/logs/error.log |
| 403 / 404 when opening the site | Incorrect permissions or Nginx config. | sudo chown -R www:www /opt/1panel/.../YOUR_DOMAIN; review site config. |
Nginx logs: /opt/1panel/.../logs/error.log |
| PHP errors on the site | Incompatible PHP version or missing extension. | Ensure PHP 8.3.8 and all required modules are installed. | PHP logs: /opt/1panel/apps/php/php8.3.8/logs/php-error.log |
| SSL issues | Incorrect DNS records or Let’s Encrypt rate limit. | Make sure A records point to your server; retry after 24h. | Logs: /var/log/letsencrypt/ |
Official Documentation

