6.4.1 How to Connect via SSH Using PuTTY, Xshell

SSH, or Secure Shell, is a cryptographic protocol designed for secure remote work with network devices. This protocol provides data encryption, authentication, and a secure connection, making it a reliable tool for managing remote servers and exchanging information over open networks. Using SSH significantly facilitates the remote administration of your server.
To connect via SSH on Windows systems, you will need a client program. We recommend using the program Xshell.
To connect via SSH on macOS, you can use the built-in Terminal or third-party clients such as PuTTY or iTerm2. The connection details remain the same regardless of the client. Below, we will also go through an example of connecting via SSH using PuTTY.
Step-by-Step Guide for Connecting with PuTTY
1. Go to the official website PuTTY. Download the latest version of PuTTY and install the program following the installer instructions. Launch the client.
2. Fill in the connection details - hostname (or IP address) of the server and the connection port (default is 22). Click Open.
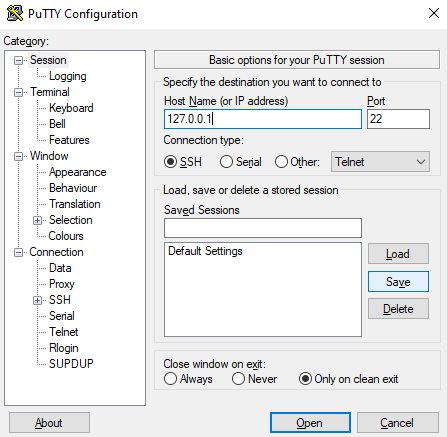
If desired, you can save the connection settings using the Save button in the Saved Sessions section.
3. Enter the login and password of your user in the opened terminal window. If the data is correct, you will successfully connect to the server via SSH.
Step-by-step guide to connect using Xshell
1. Go to the official Xshell website and download the latest version of the program.
Install Xshell on your computer, following the installer instructions. Launch the client.
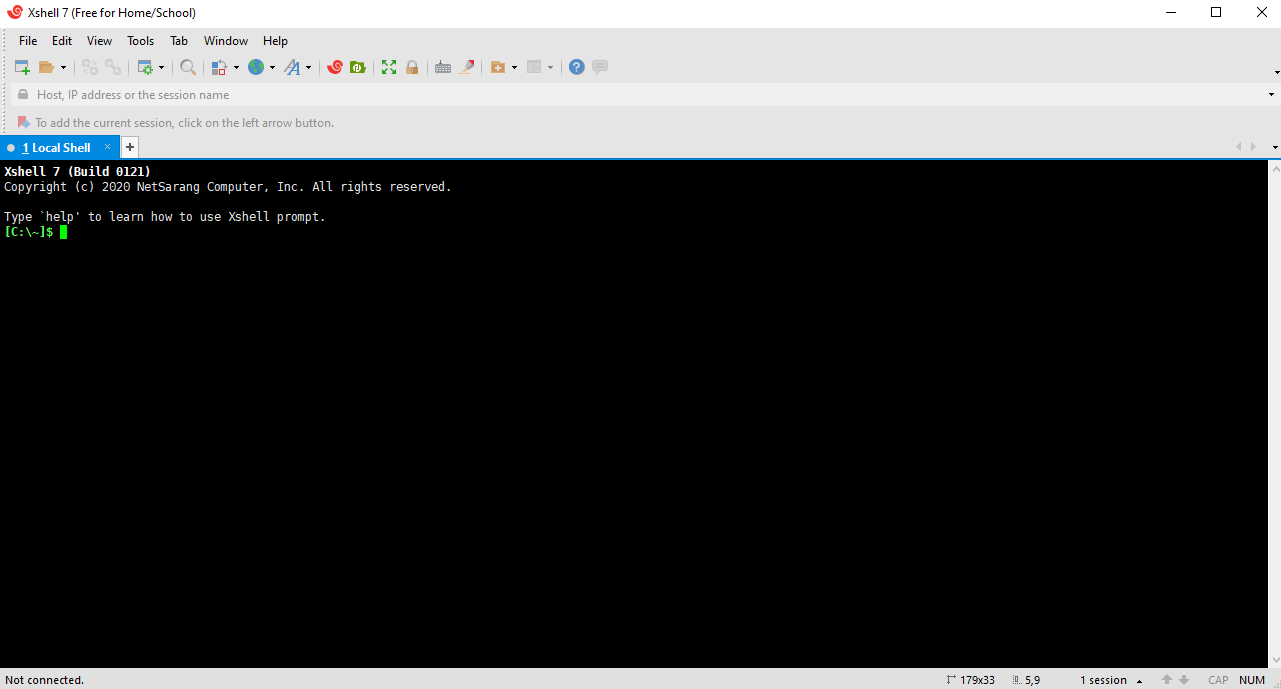
2. Create a new session. Click on File in the top left corner of Xshell and select New…
3. Fill in the session parameters.
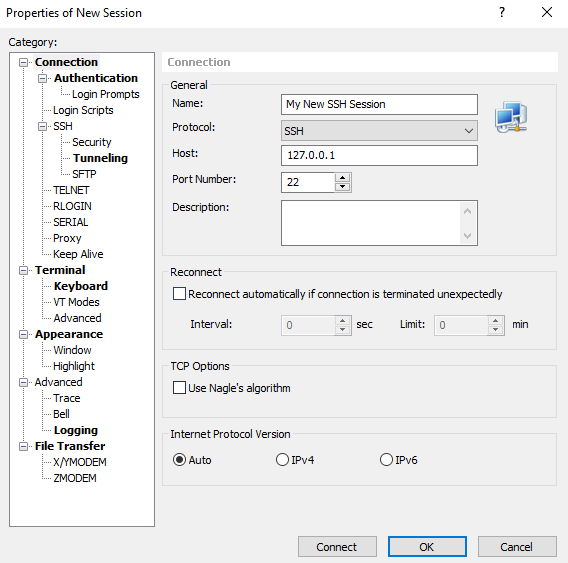
- Name – the name of your session. It’s purely its name; you can enter anything.
- Host – IP address or hostname of your server.
- Port – the port for SSH on your server (default is 22).
- Protocol – SSH is already set as the default.
4. Enter the connection details in the Authentication section. Enter the User Name (login) and Password for your SSH account.
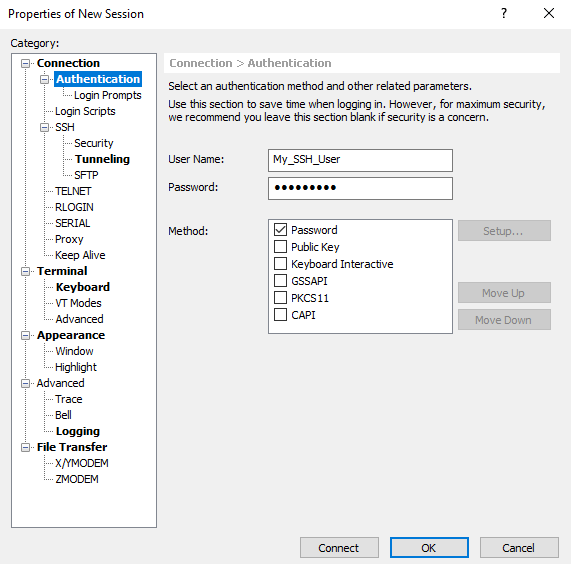
Without completing this step, the program will prompt you for the login and password every time you open a session.
5. Click OK to save the session settings.
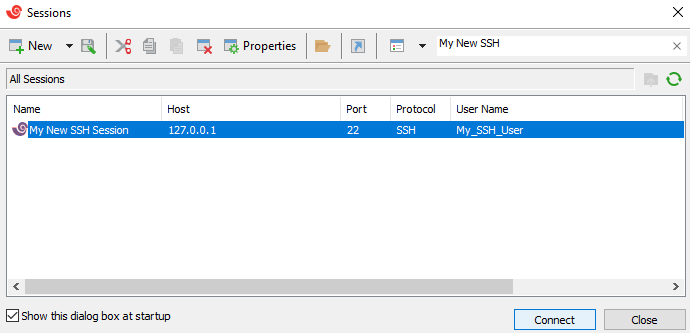
6. To connect, click on File in the top left corner of Xshell and select Open to open the list of saved sessions. Choose the desired session and click Connect.
If this is your first time logging into the server, you may be asked to save the key, that is neccessary to proceed further.
If step 4 was skipped, Xshell will also ask for the login and password for your user. If all the data was entered correctly, you will successfully connect via SSH.

